Cooking With Precision
Spring Has Sprung
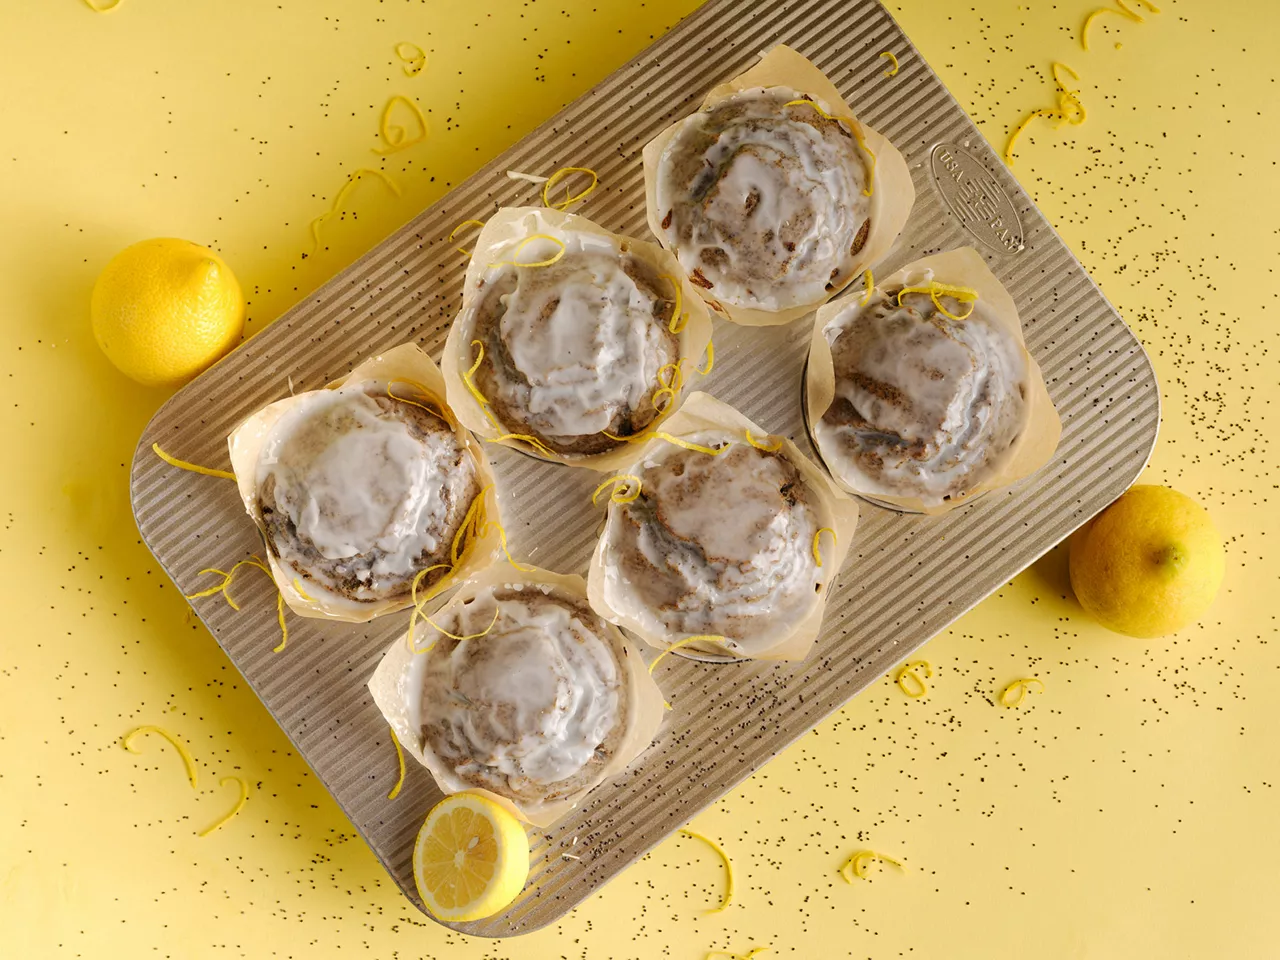
Muffin Madness!
Sous Vide Classics
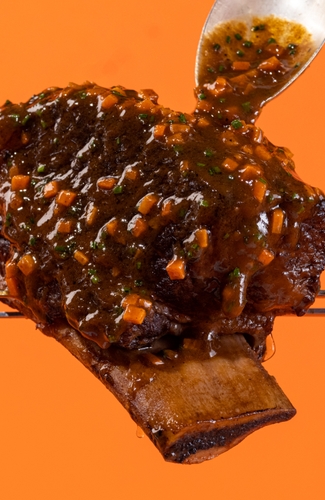
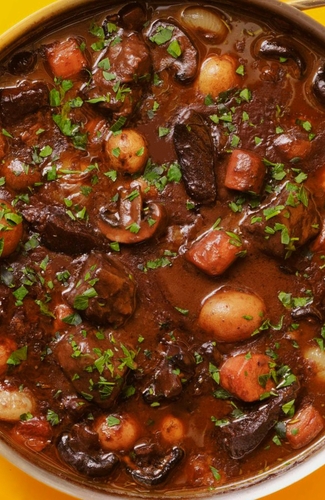
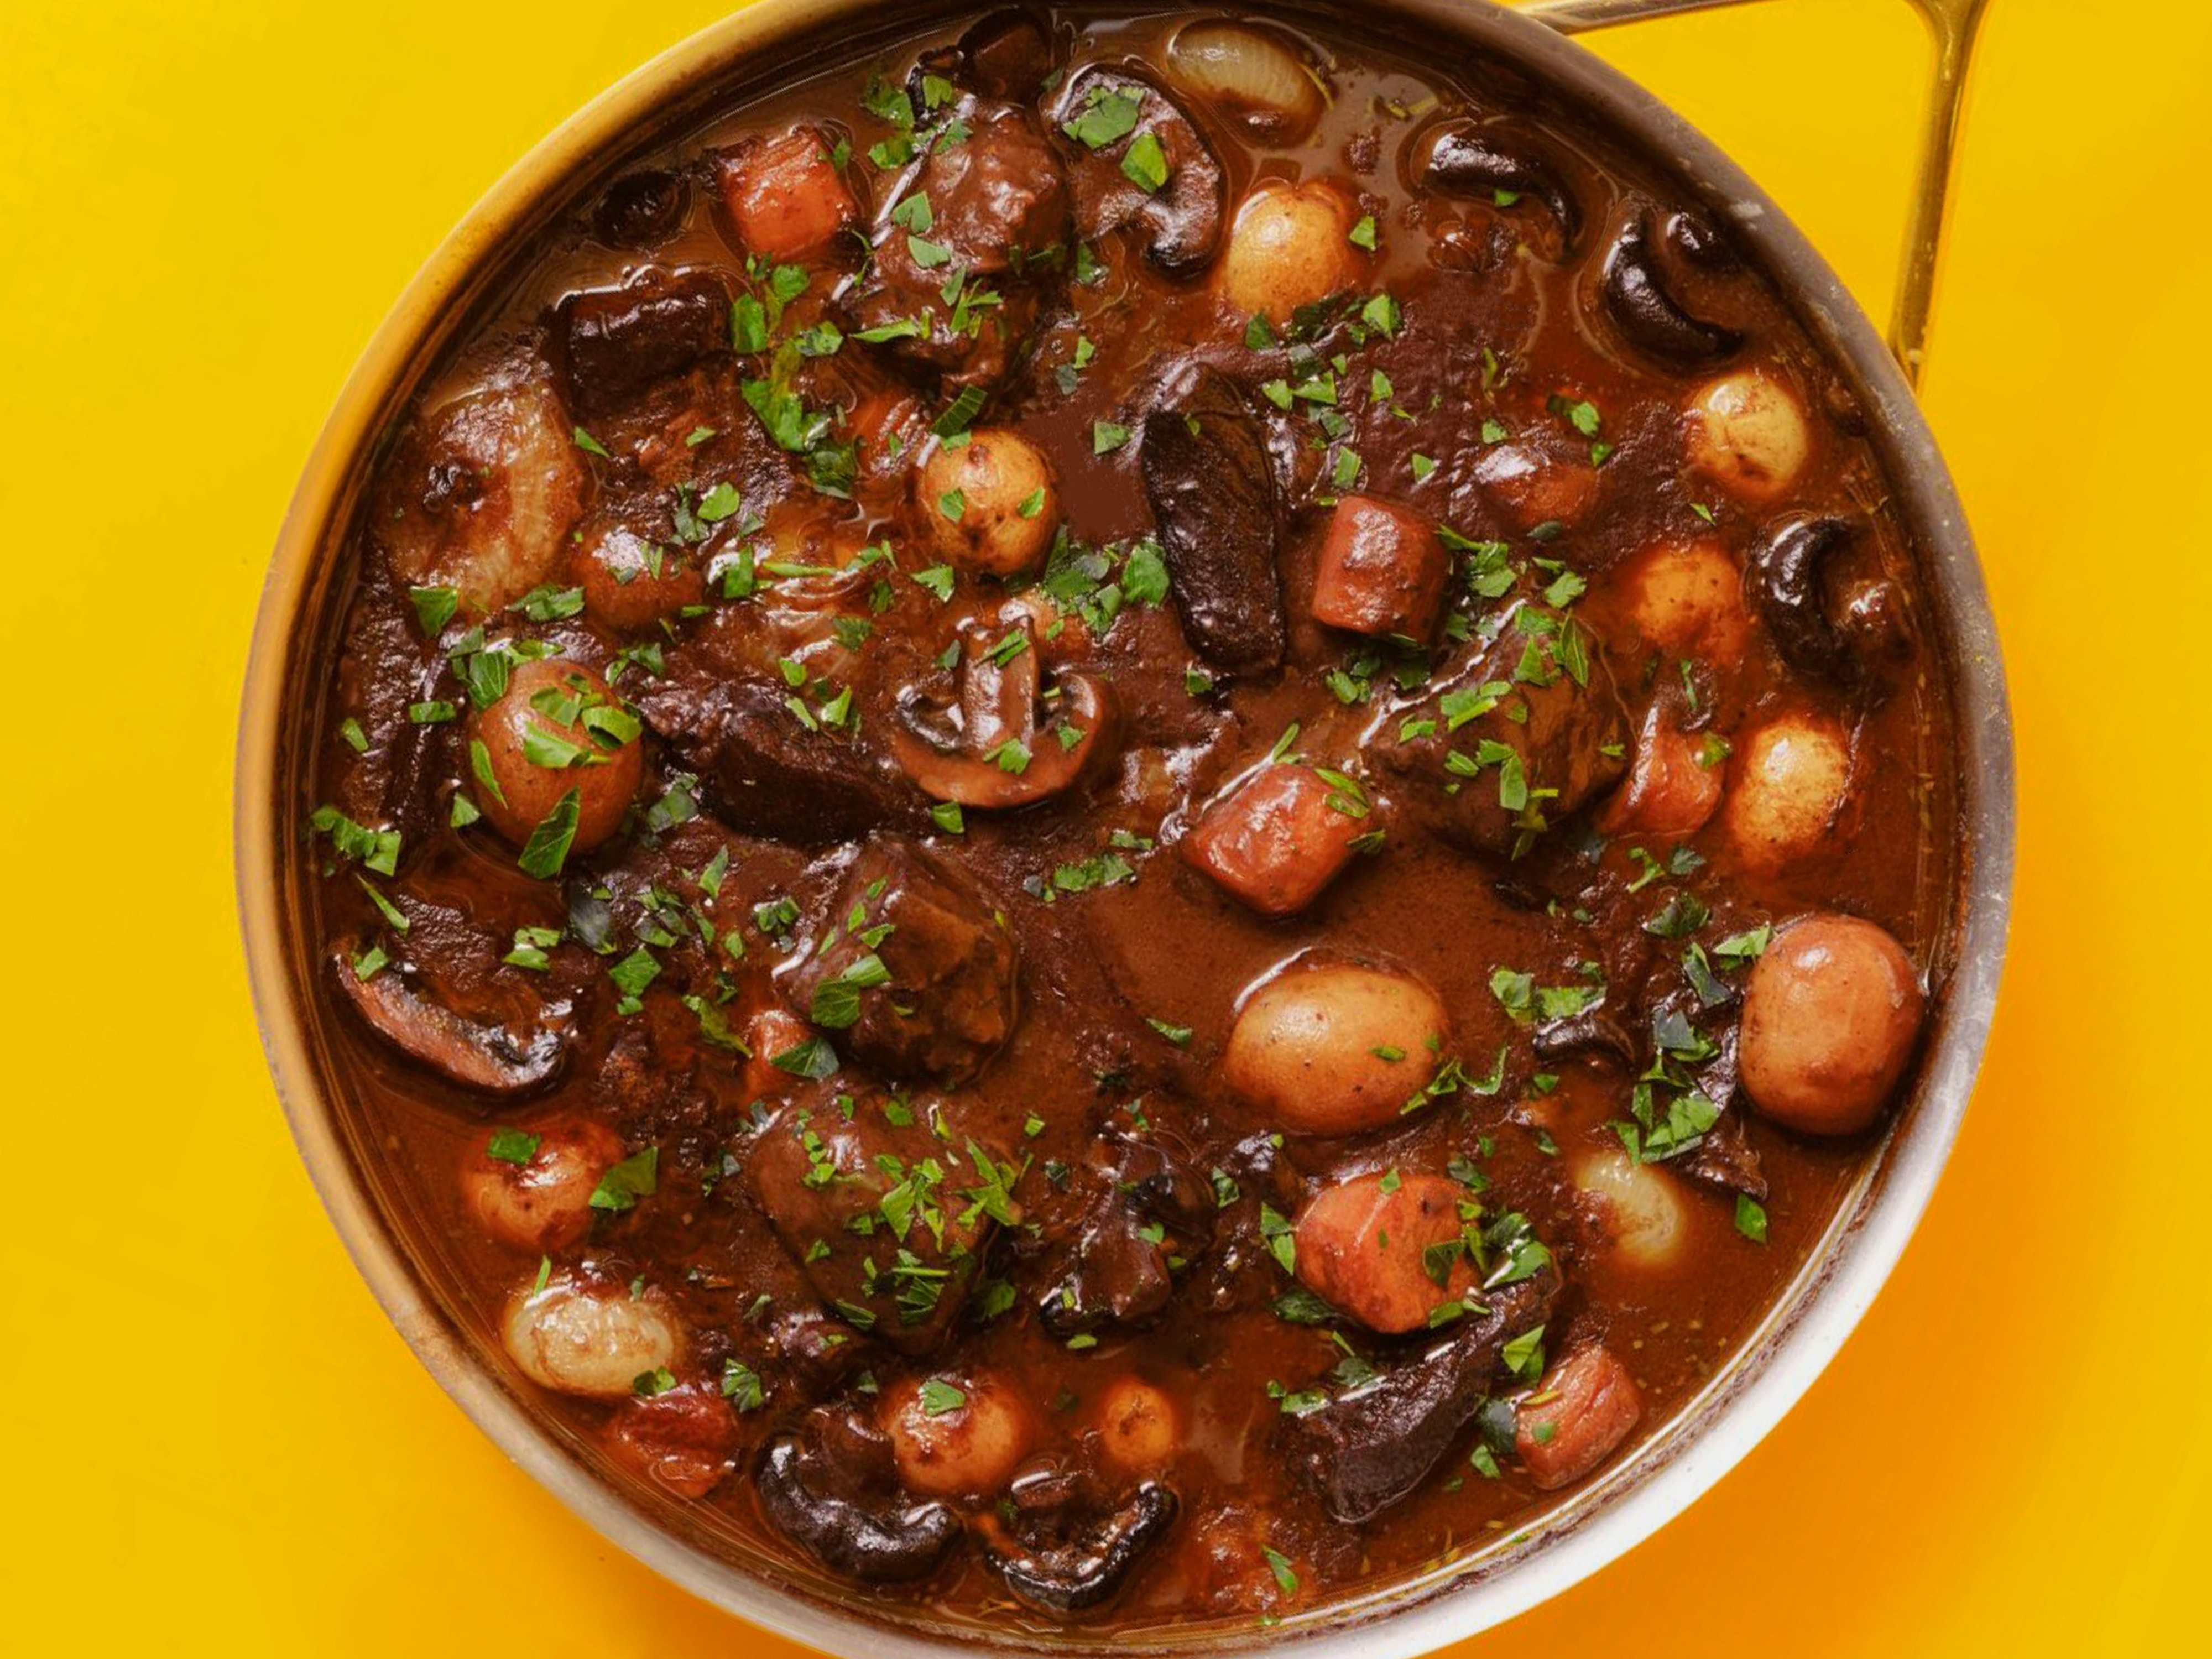
Precision Boeuf Bourguignon
by
Timing
3 hrs 30 min total; 30 min active
Yield
4 servings
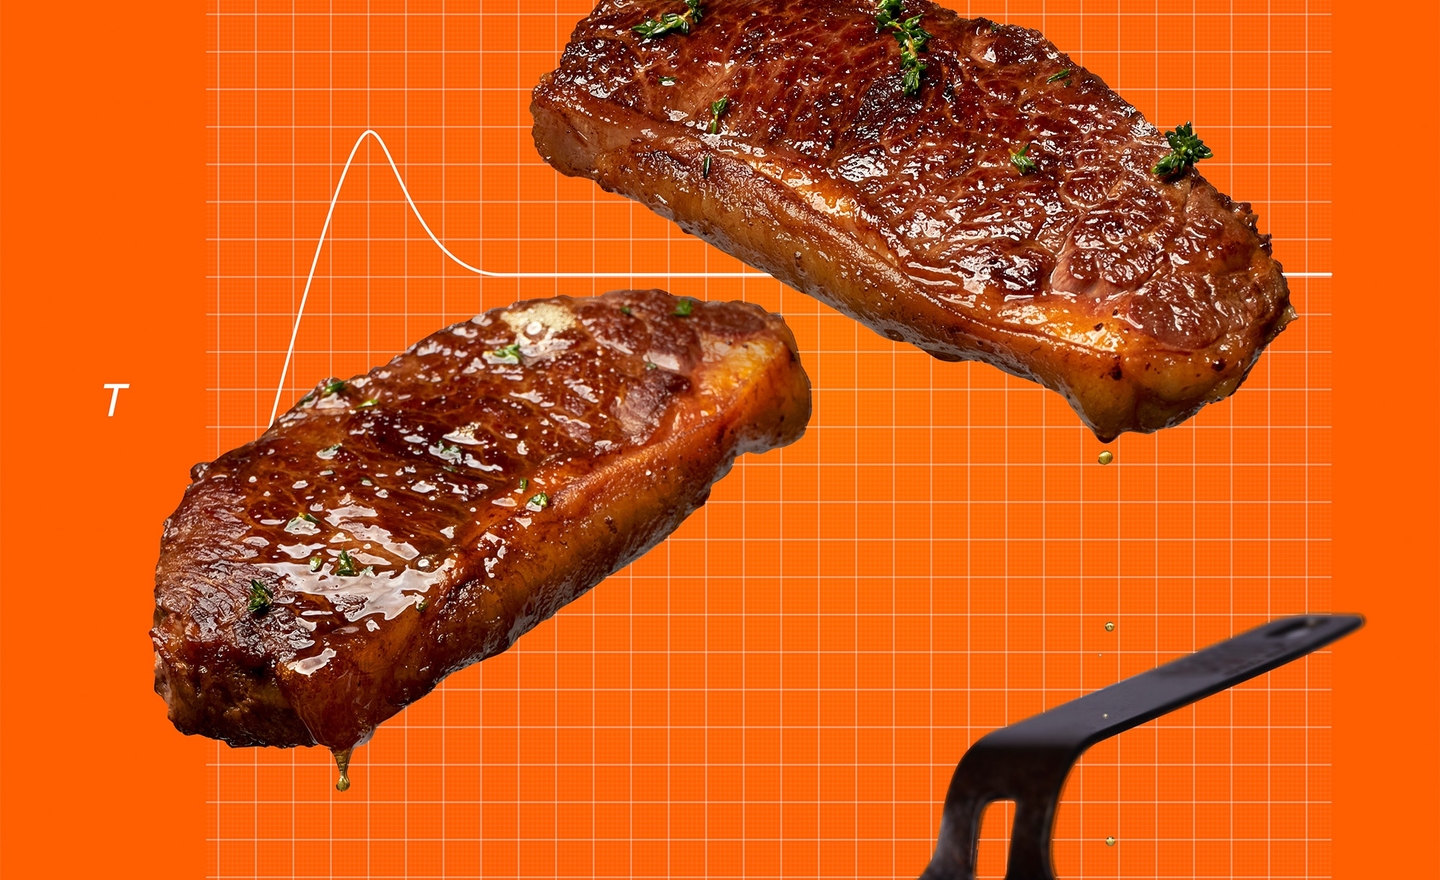
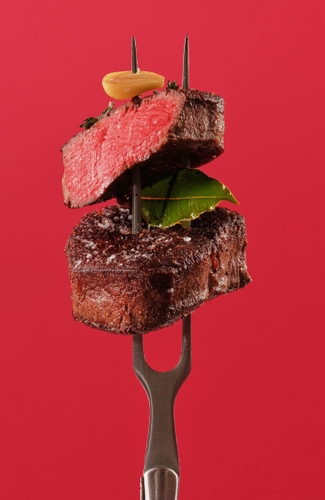
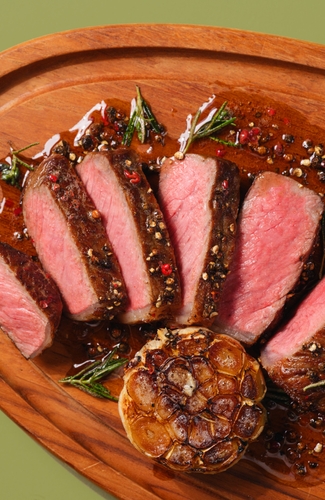
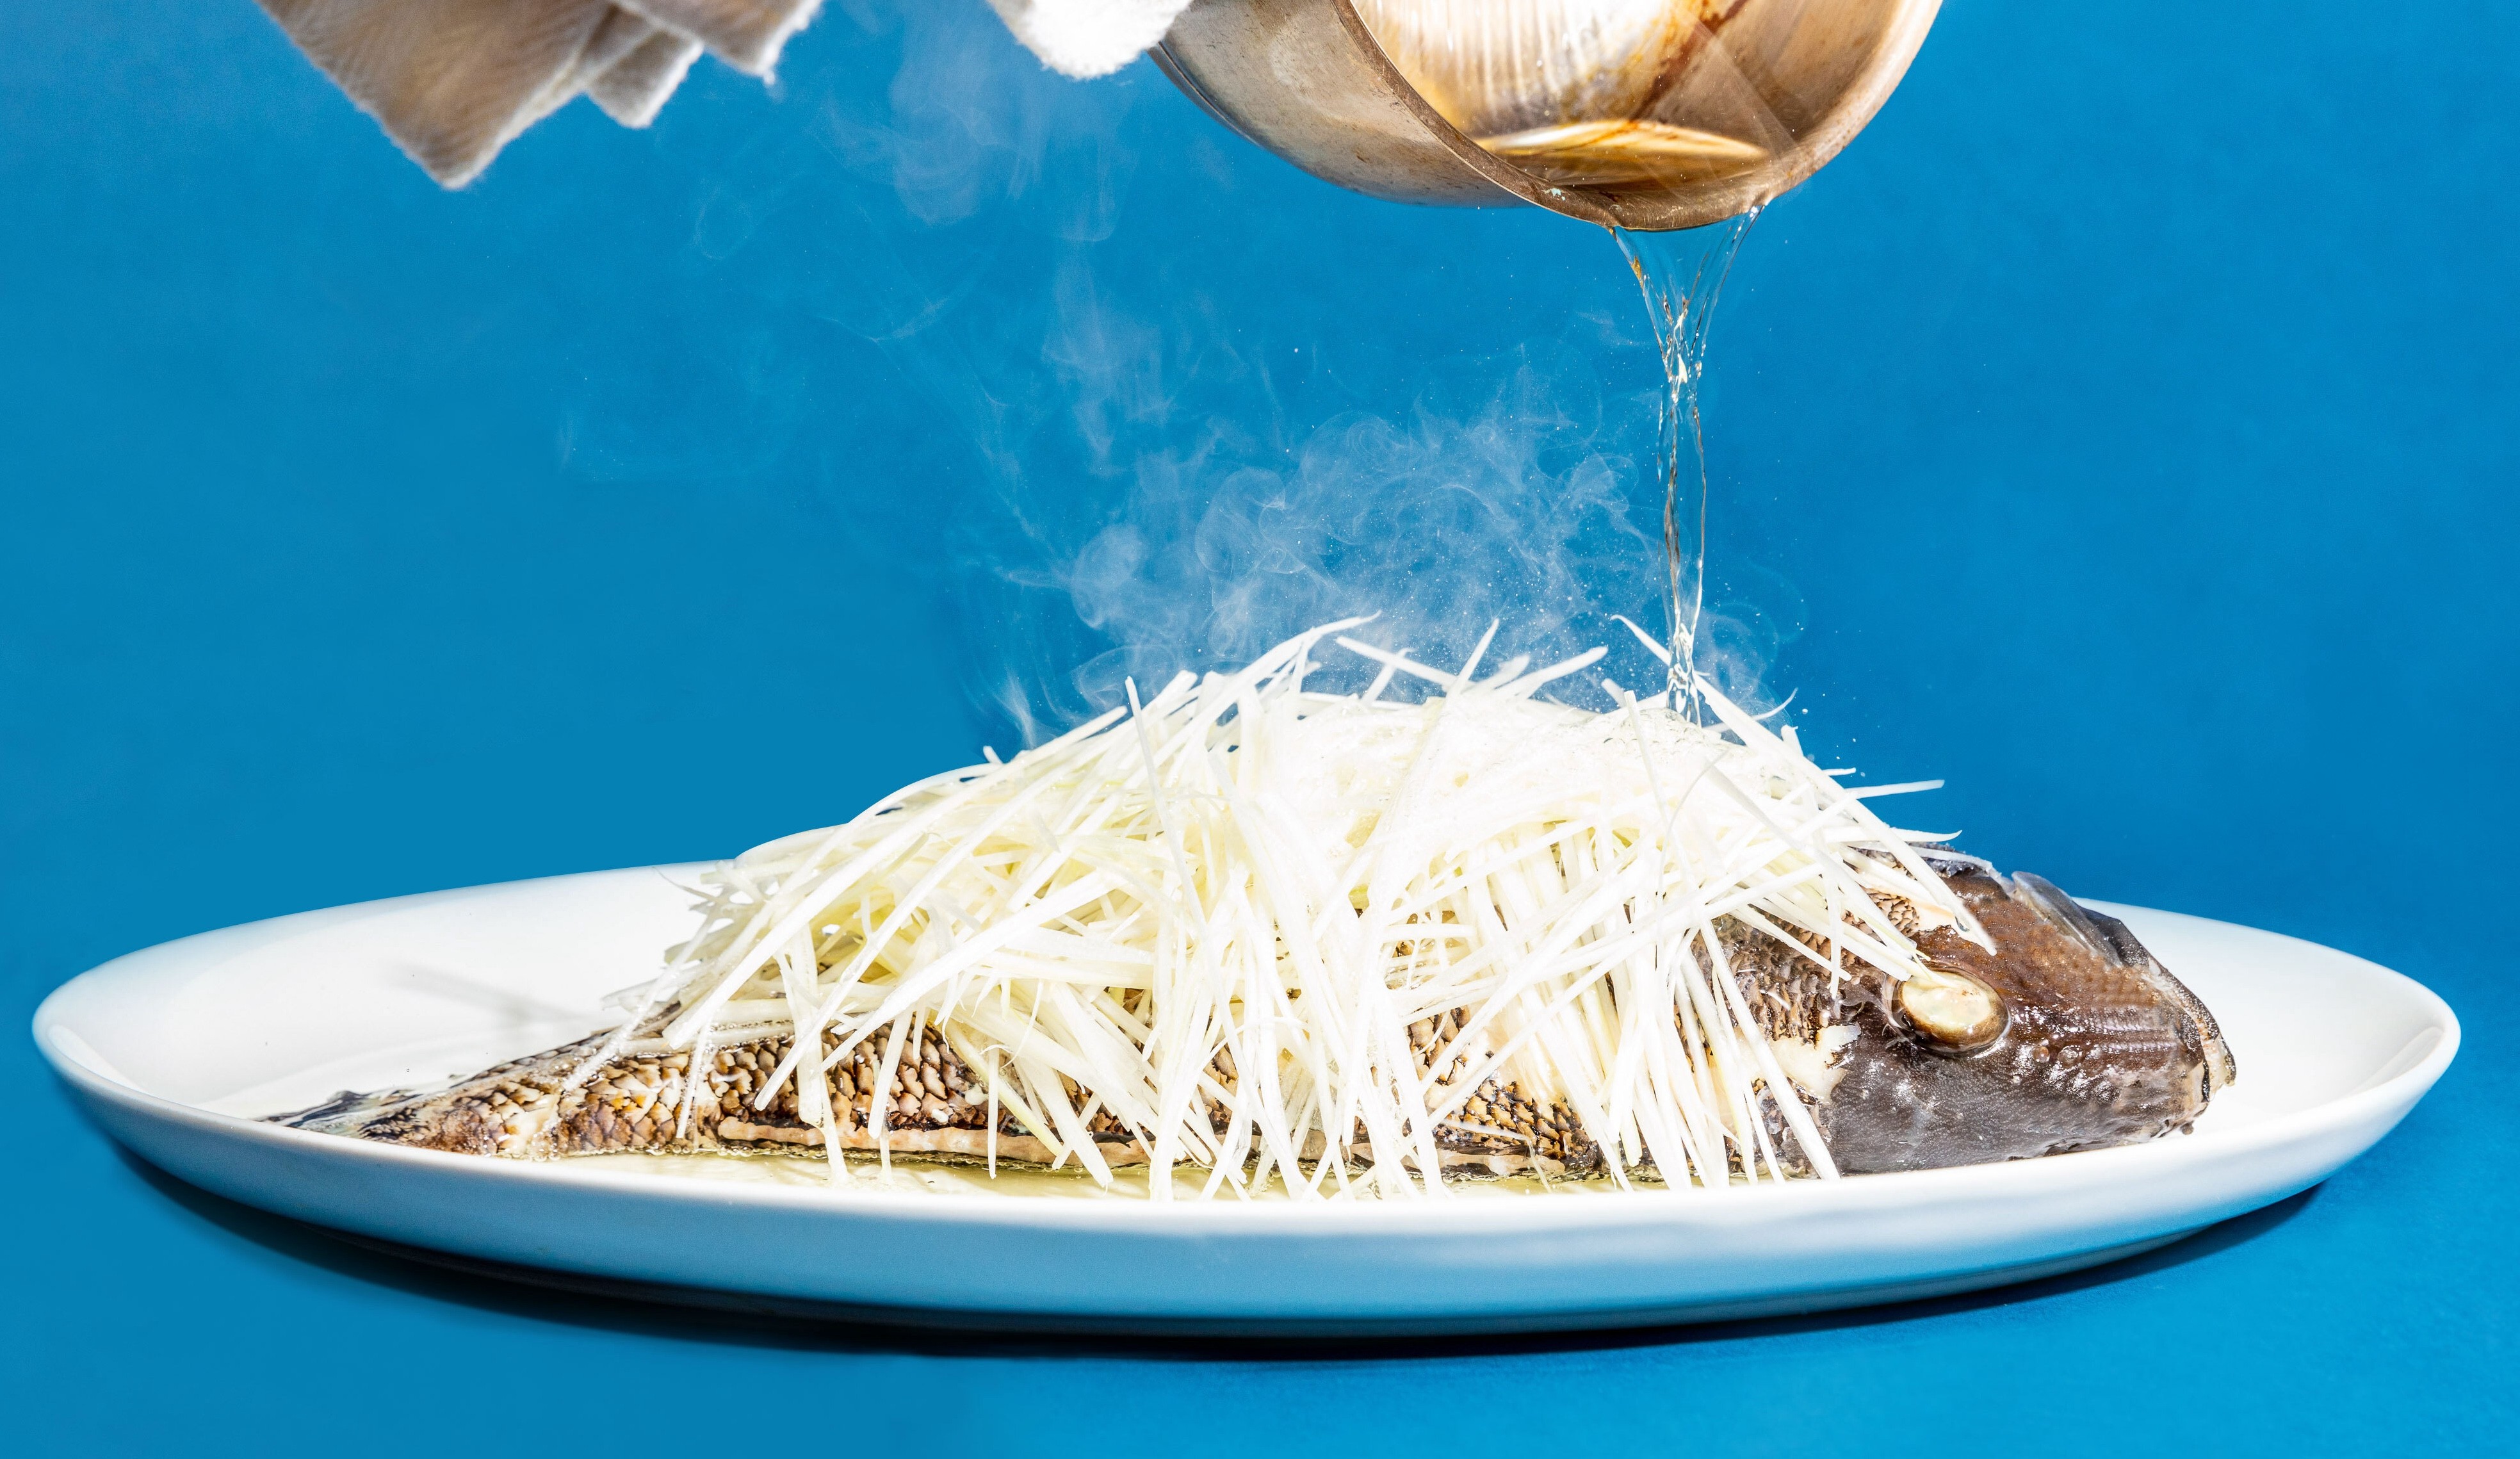
Ever since Julia Child burst onto the food scene, Americans have been in love with boeuf bourguignon—beef braised in red wine. As she notes in the inaugural episode of The French Chef, the dish offers a crash course in French culinary technique: How to brown and braise meat, how to sauté mushrooms, how to cook vegetables, and how to make a “wonderful” sauce. For the same reason, beef bourguignon is a great dish to demonstrate how precision temperature control can yield spectacular results. Not just how to brown meat, but how to brown it and then gently simmer it so the collagen in [link https://www.chefsteps.com/activities/decoding-tough-and-tender-cuts tough stewing cuts] transforms into gelatin without hammering the meat into chalky shreds. Not just how to make a sauce, but how to regulate the temperature of the liquid so that once the meat is cooked, it will reduce into a silky, gelatin-rich sauce without overcooking the meat. With the temperature control of precision induction cooking, you can choose the final texture of the braised beef simply by extending or shortening the cooking time, just like with sous vide. Since the exterior of beef pieces braised in red wine can take on an unappealing texture and muddy appearance, we reduce the wine separately at the start and incorporate it into the braise toward the end of the cooking process. To ensure the sauce has enough gelatin to produce a silky sauce, we fortify the braising liquid with our [link https://www.chefsteps.com/activities/beef-bouillon-cubes Ultimate Beef Bouillon Cubes], which also add tons of browned beefy flavor and a healthy dose of seasoning in the form of salt and MSG. Once you get the braise started, it’s almost entirely hands-off, and you’ll be rewarded with one of the best beef stews in the world. We’re sure Julia Child would approve!Precision Cantonese-Style Sizzling Steamed Fish
by
Timing
20 min total; 14 min active
Yield
2 to 4 servings
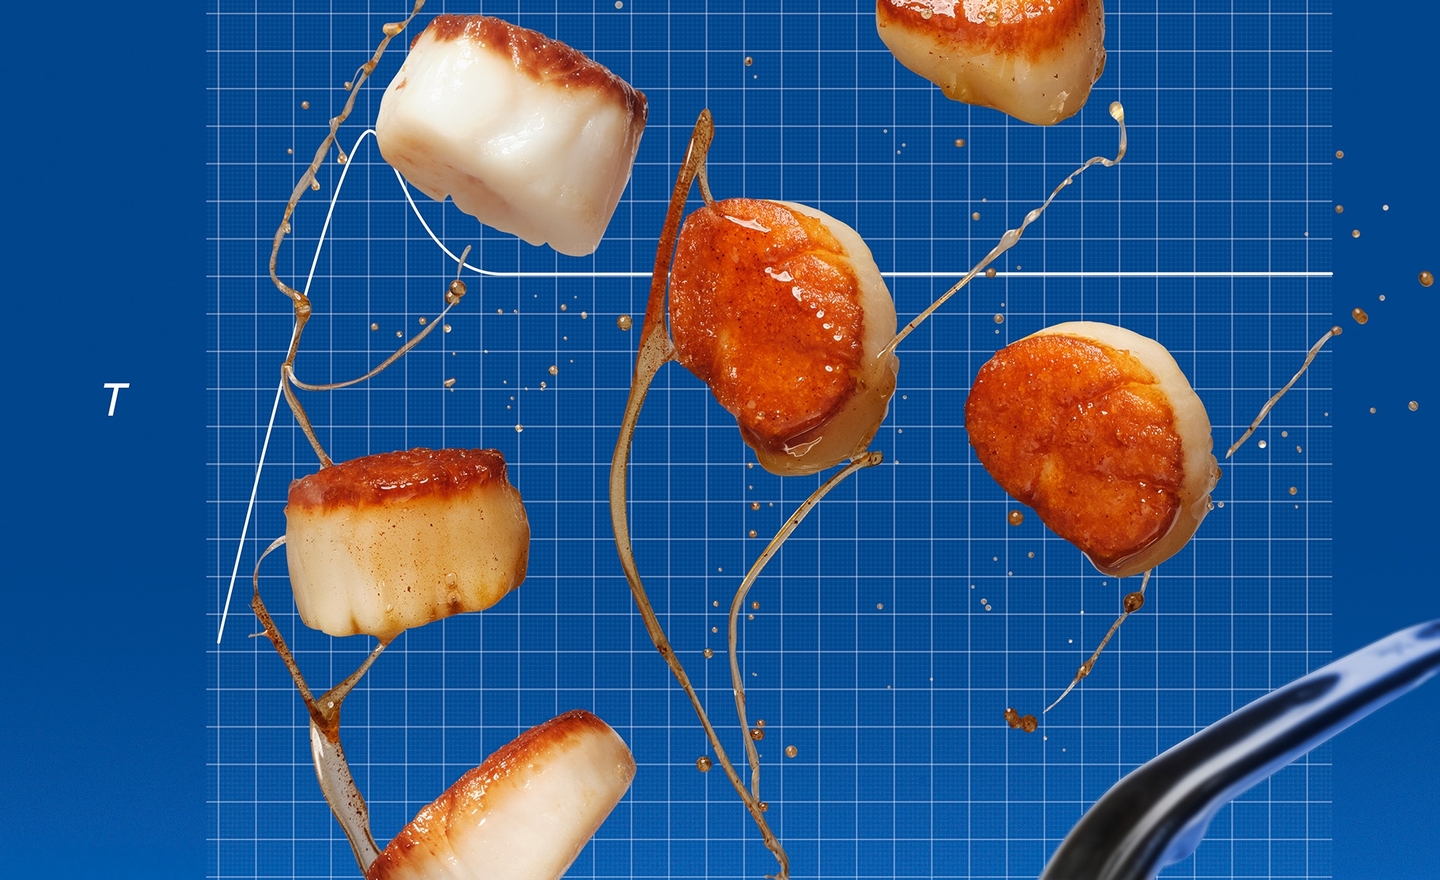
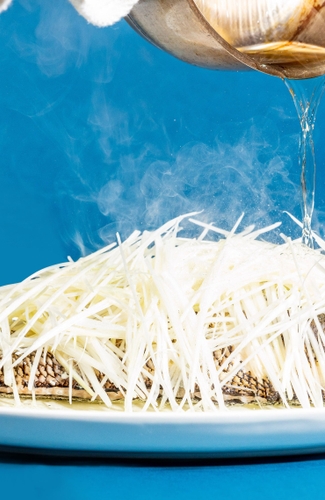
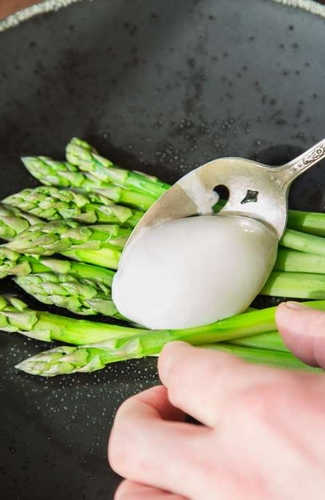
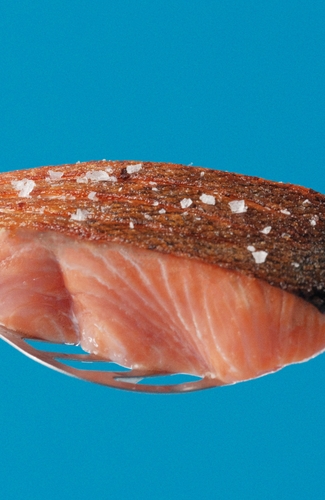
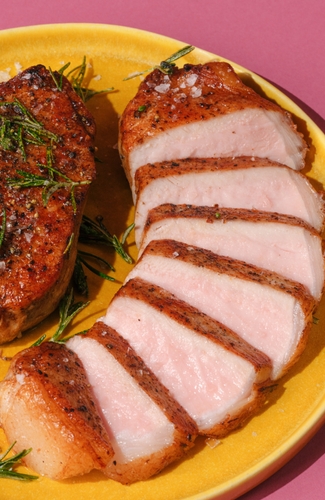
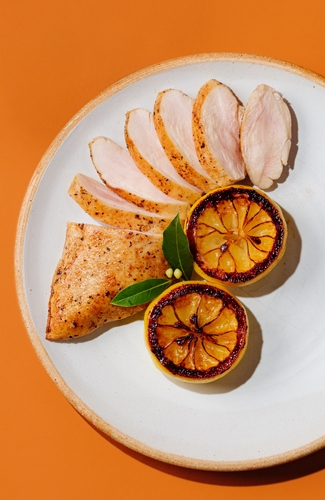
If there’s one dish that captures the spirit and finesse of Cantonese cooking, it’s whole steamed sizzling fish: a whole fish steamed with aromatics, topped with julienned green onion, anointed with smoking hot oil, then doused in a slightly sweetened soy sauce. It’s a simple but dramatic preparation, but it’s tricky to get just right. The sauce is minimalist, ditto the aromatics, so there’s not a lot to mask the quality of the fish or how it’s been prepared. The key (after [link https://www.chefsteps.com/activities/selecting-fish-for-purchase selecting the right fish]) is all in the steaming technique: cooking the fish so its flesh is perfectly tender and silky, not chalky and overdone. In many classic Chinese seafood restaurants (the ones with the galleries of fish tanks in the windows), the fish is typically cooked in giant steam ovens, which give cooks two options: fast, vigorous steam and low, gentle steam. Typically, home cooks only use the latter option in their steaming setups, letting the water simmer or boil for the duration of the cook. But if you dial in the precise temperature of the pan—and thus the water inside the steaming setup—you can regulate both the temperature and the amount of water vapor that will cook your fish, creating a far more gentle cooking environment than a steamer with billowing heads of steam. The internal temperature of the fish will consequently rise more slowly, giving you ample time to monitor its progress with a probe thermometer and reducing the risk of overcooking significantly.Precision Butter-Poached Lobster
by
Timing
2 hrs total; 15 min active
Yield
2 servings
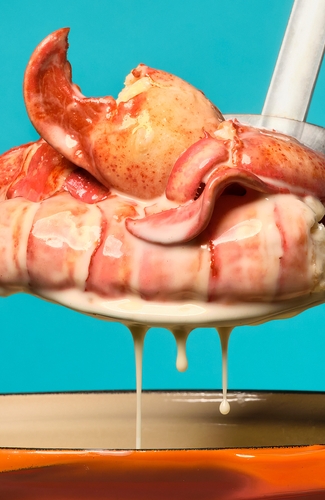
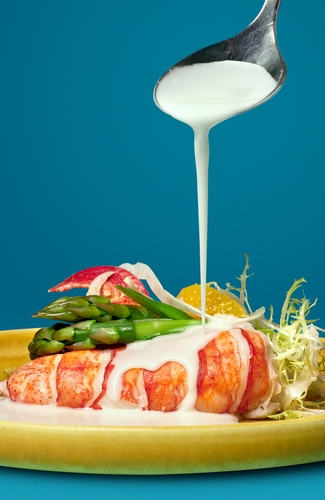
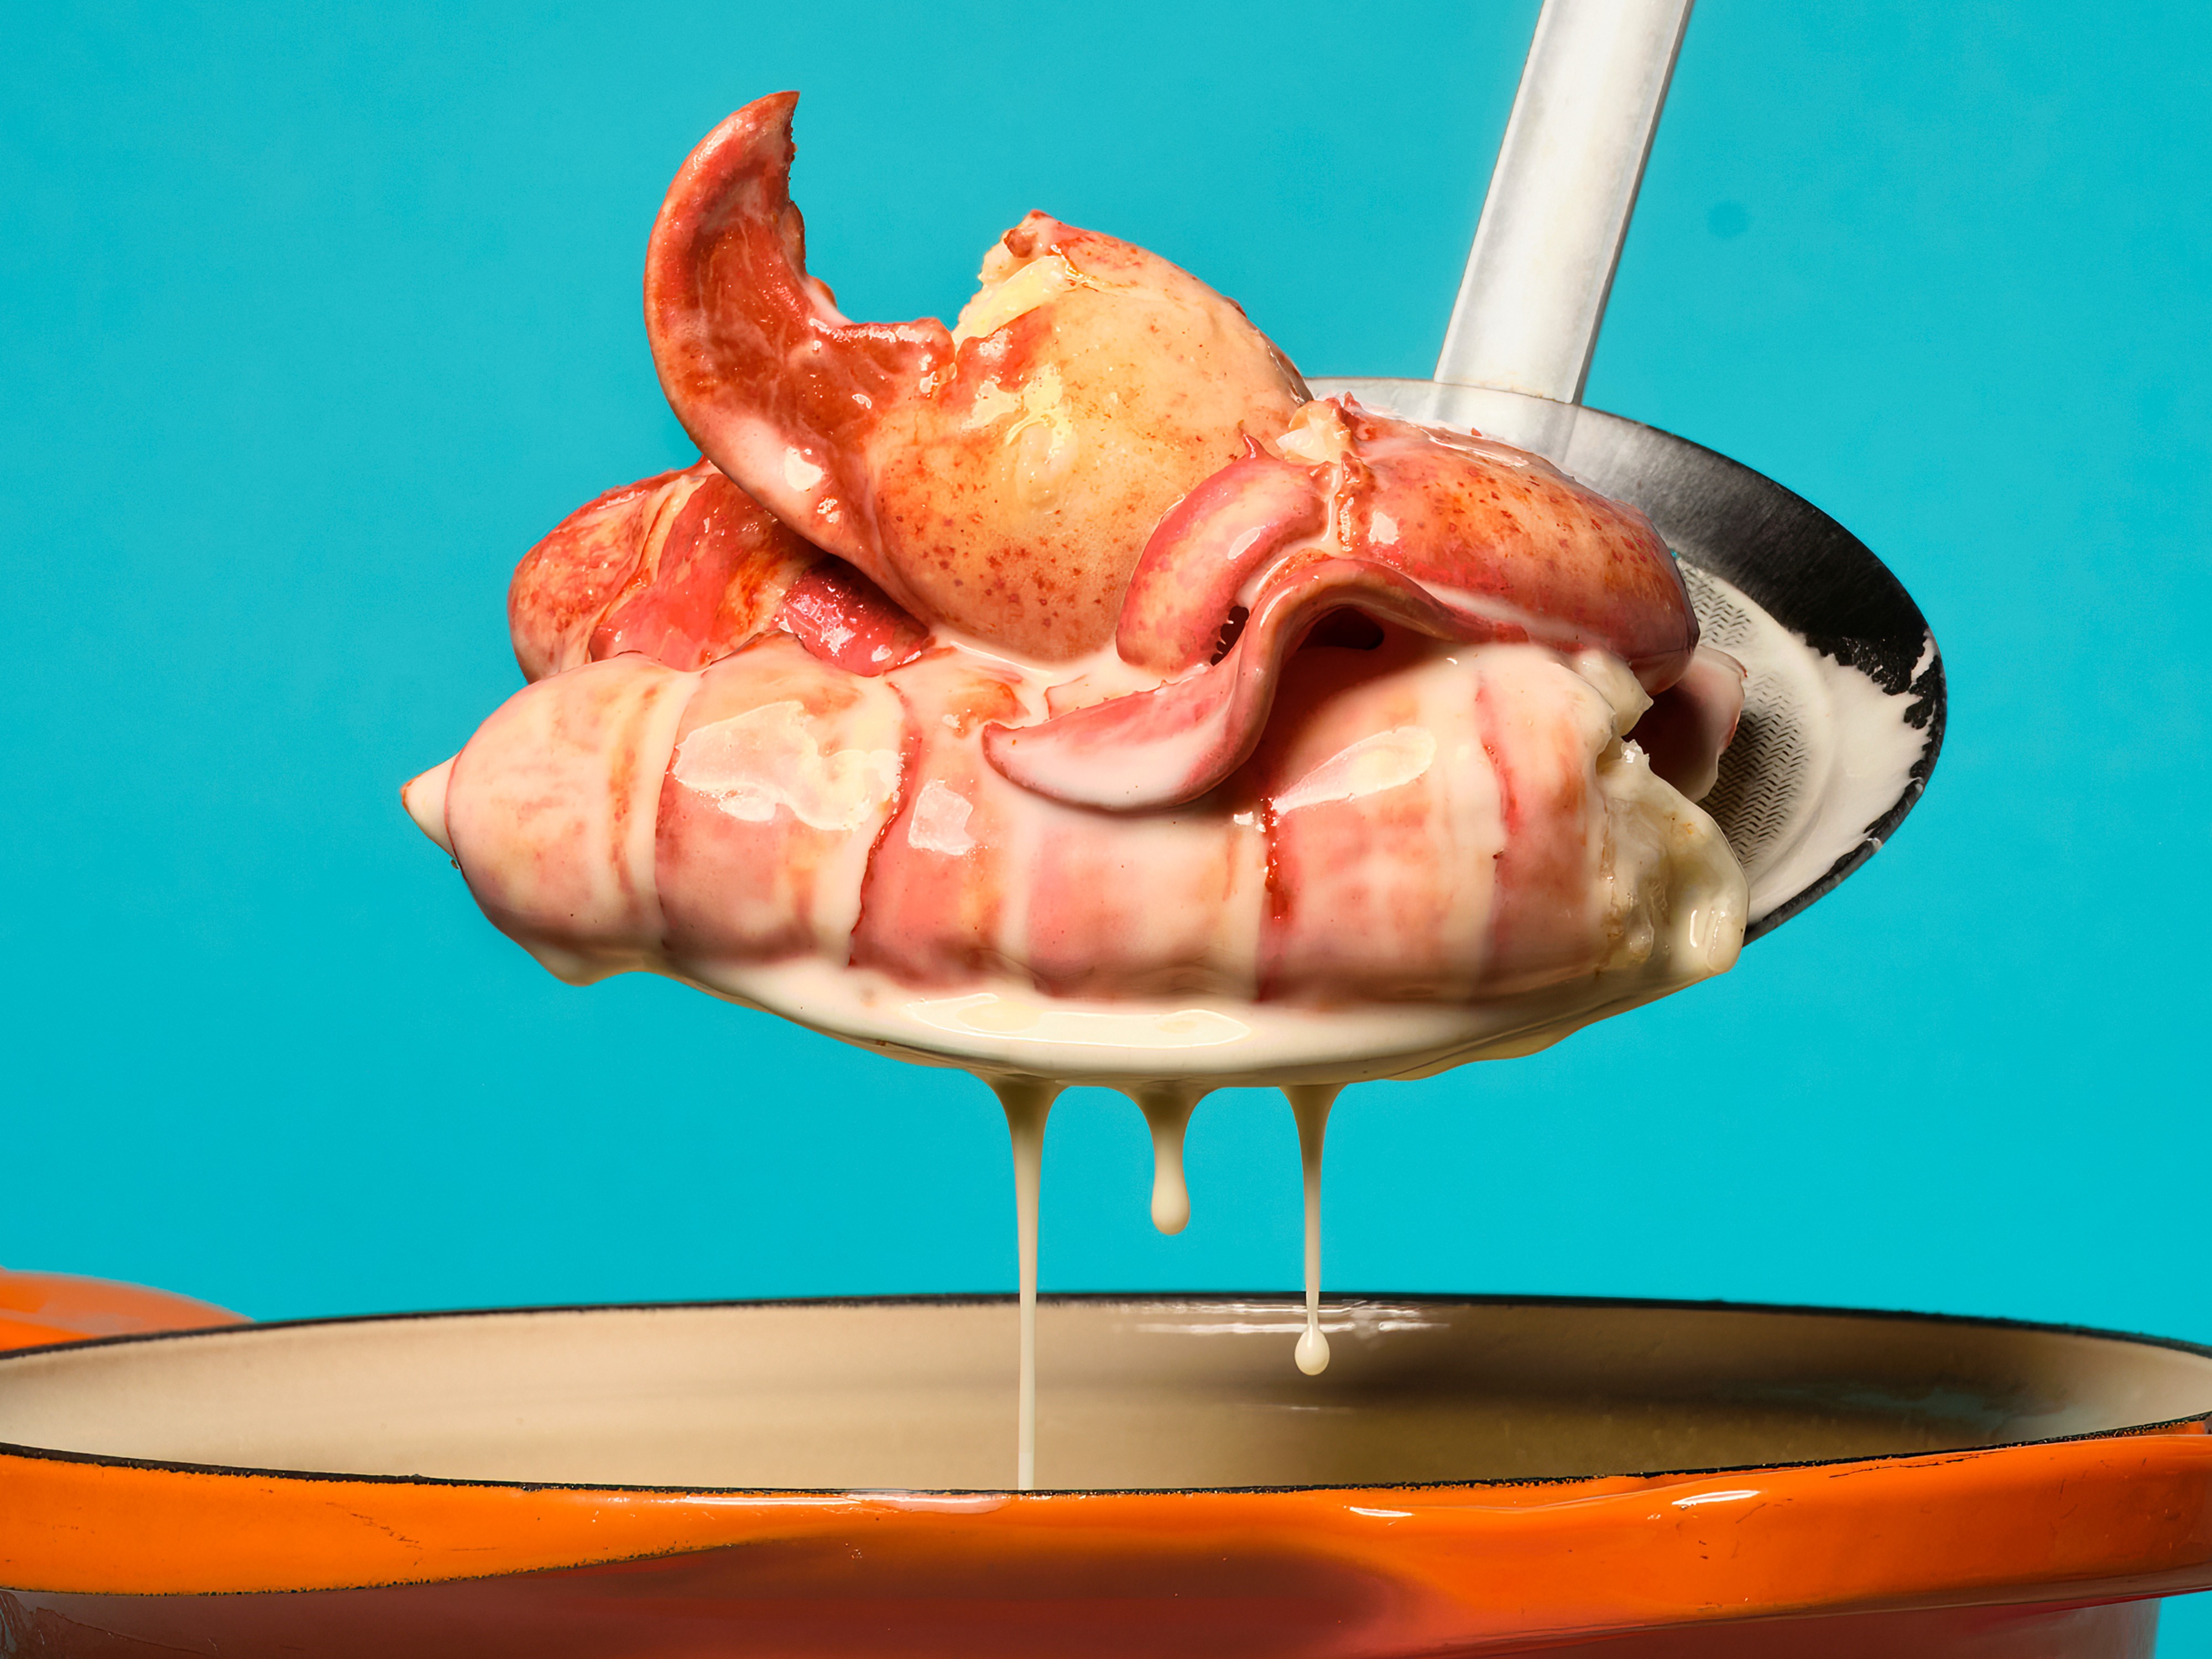
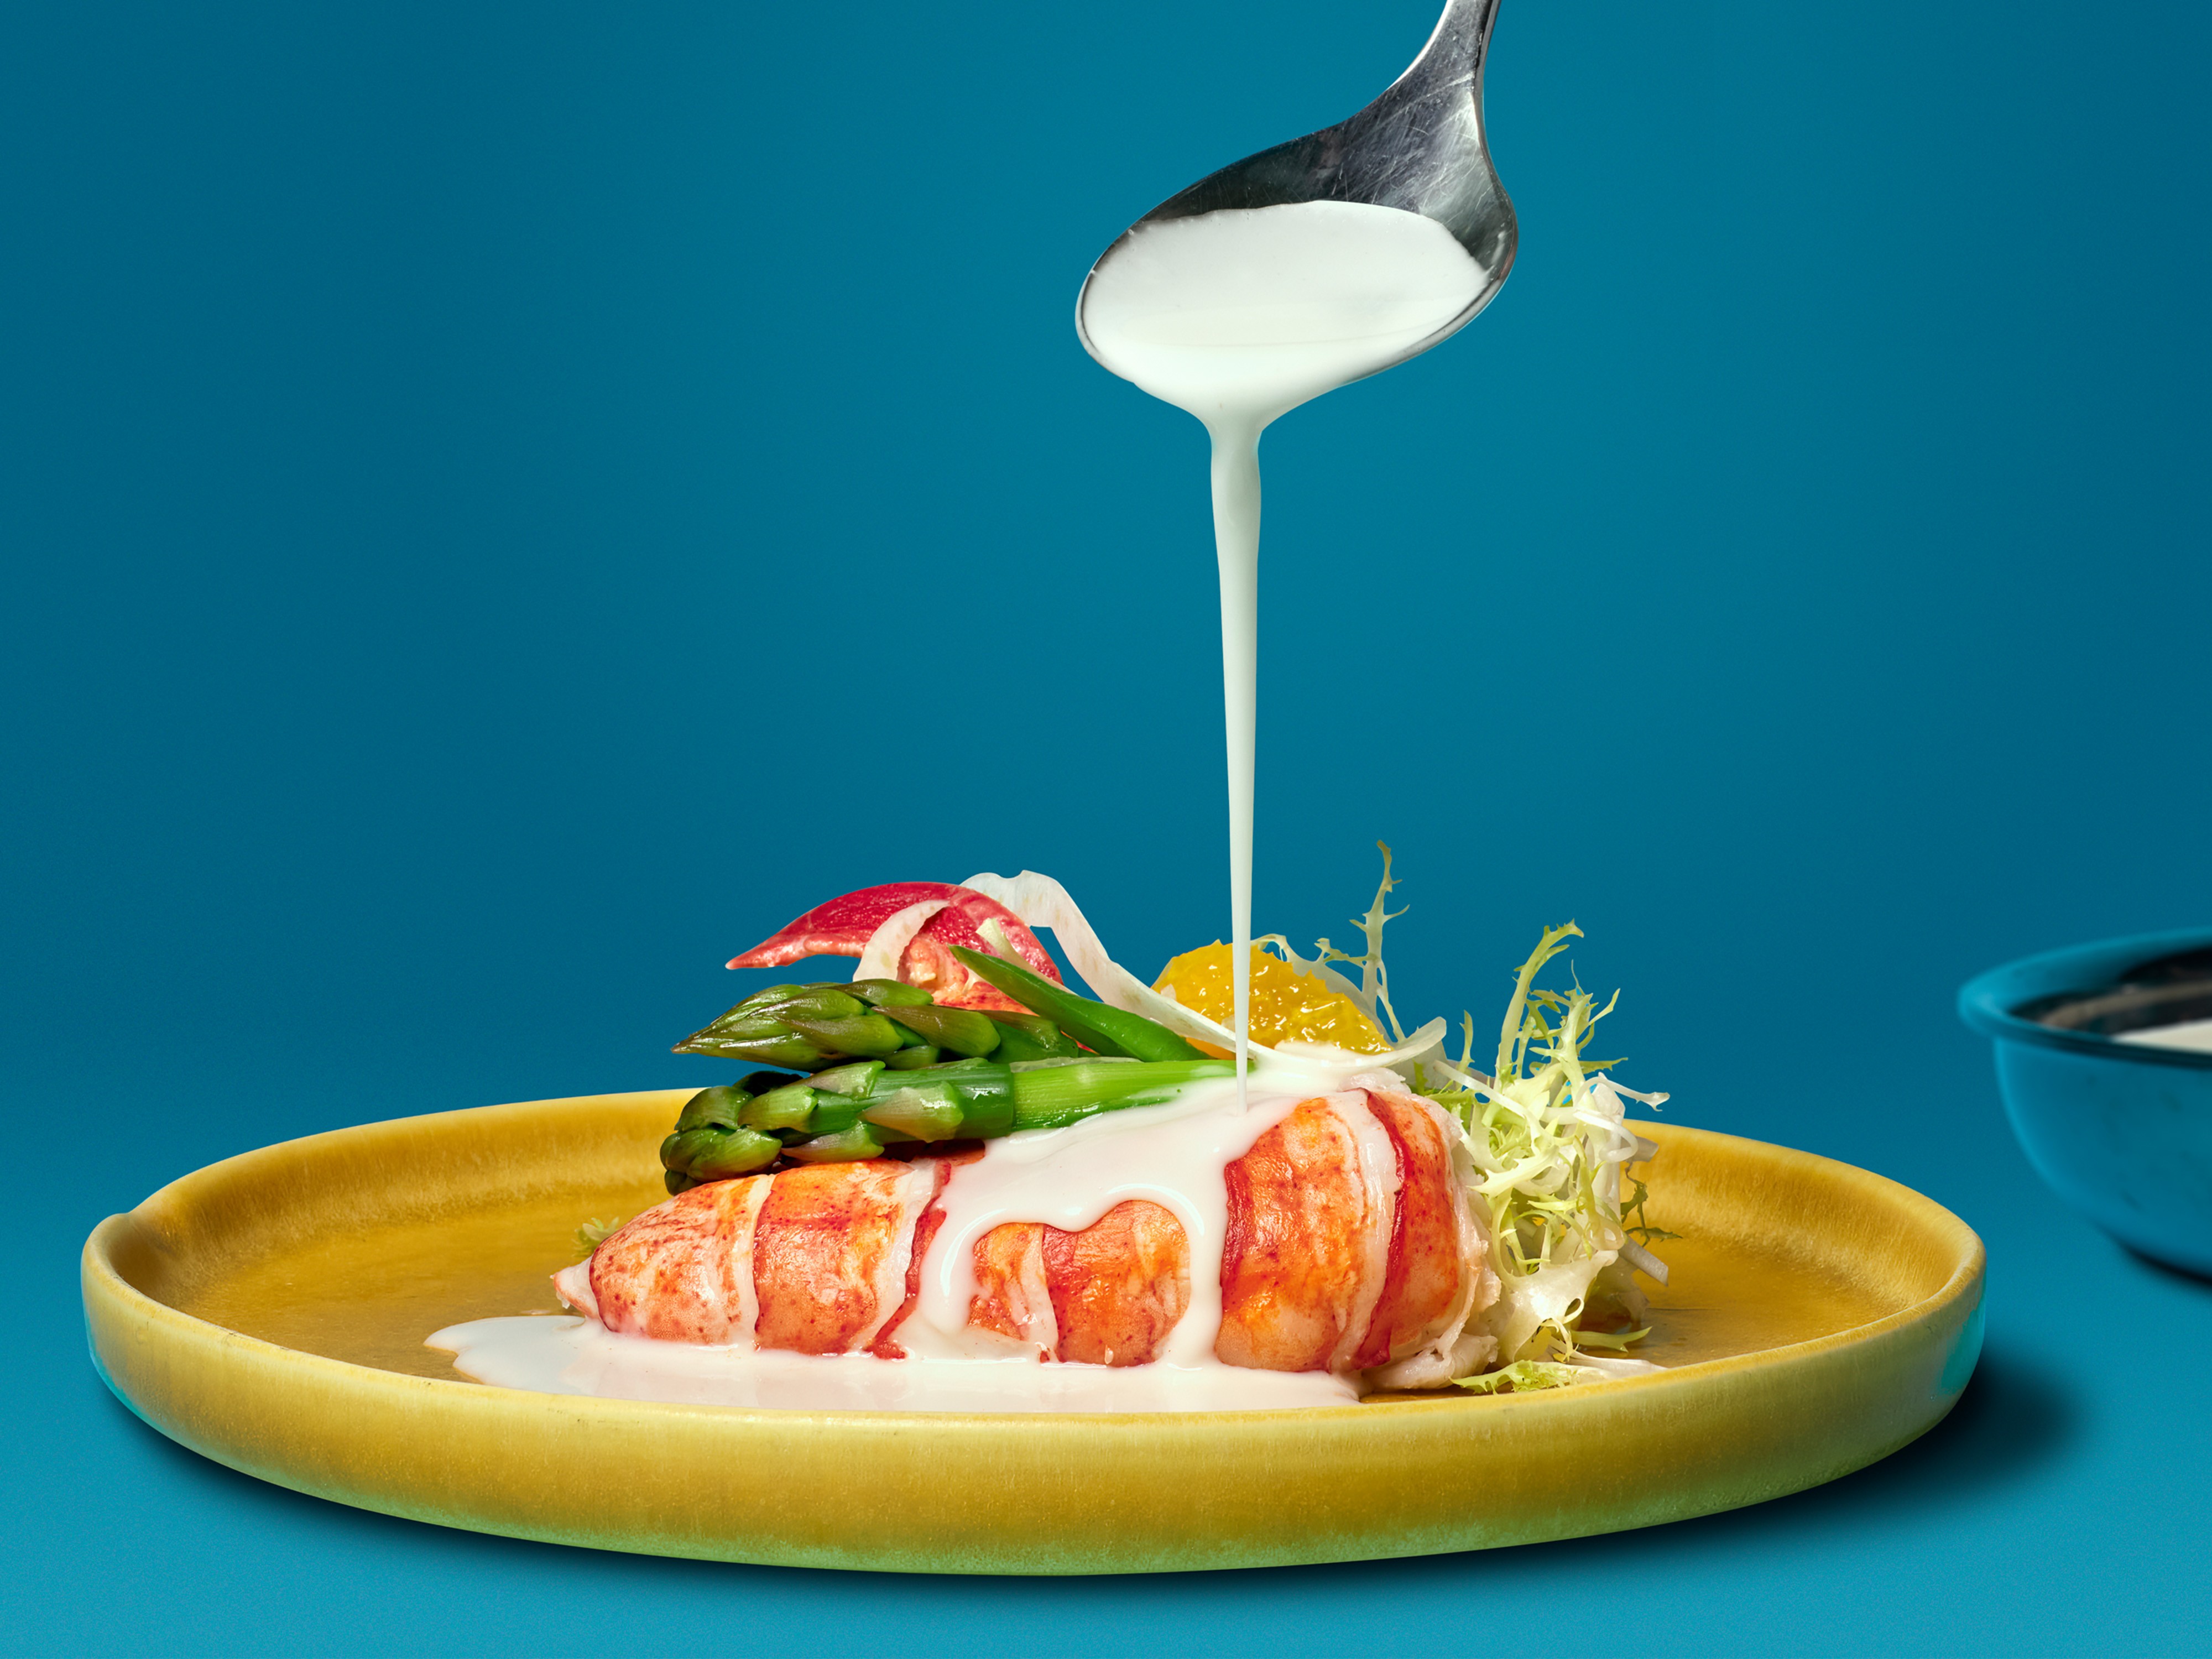
Steamed lobster is a New England summer classic that more often than not turns out rubbery and tough. But there’s a much better way to cook lobster and all that’s required is precision temperature control. In a lot of fine dining restaurants, instead of getting dunked whole into a steamer or pot, lobster is carefully taken apart and its disparate pieces are par-blanched and shocked in ice water to cleanly release the meat from the shell. The meat is then gently cooked the rest of the way—not boiled, not steamed, but poached. Not in water, not even in a fancy court bouillon, like the one we use in our [link https://www.chefsteps.com/activities/coctel-de-camaron-mexican-style-shrimp-cocktail cóctel de camarón]. It’s poached in beurre monté—emulsified liquid butter. The beauty of beurre monté is that it only stays emulsified and liquid within a narrow temperature range, which happens to be a great temperature range for poaching delicate proteins. That’s also its primary drawback. Making it can be a little fussy, and keeping traditional monté at the right temperature is fussier still. We use our [link https://www.chefsteps.com/activities/bulletproof-beurre-monte Bulletproof Beurre Monté], which is stabilized with xanthan gum and can be heated to much higher temperatures without breaking, which means all you have to worry about is getting it to the exact temperature you want your lobster to cook at: [f 145] for the most tender and succulent lobster meat; [f 155] for firm, juicy flesh that’s closer to (but way, way better than) the stuff that comes out of a boiled or steamed lobster. As a bonus, you can nappe the precision butter-poached lobster in reduced beurre monté for a silky sauce! That’s lobster done right.Bulletproof Beurre Monté
by
Timing
10 min total; 5 min active
Yield
740 g; 3 cups
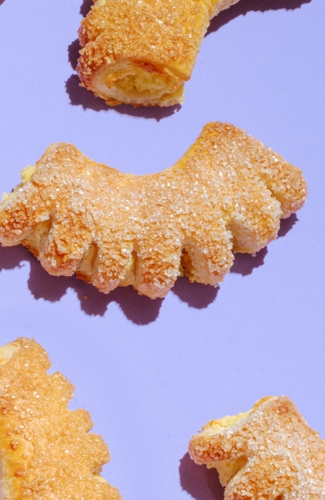
Beurre monté—a warm butter emulsion—is a secret weapon in French kitchens. It’s a cooking medium, a welcome addition to almost any dish, and a sauce in its own right. The tricky bit about beurre monté—and the reason why its use is largely confined to professional kitchens—is that it needs to be kept warm. Too hot and the emulsion will break and the milk solids and butterfat will separate from the water. Too cold and it’ll just be warm, spreadable butter. The key is to set it somewhere where the temperature is right in the Goldilocks window and all the beurre monté magic can happen, which is why it’s often used as a precision temperature-controlled cooking medium for poaching delicate proteins, like shellfish and fish. But if you’re working with an emulsion, there’s a [link https://www.chefsteps.com/activities/unlock-your-hydrocolloid-starter-pack hydrocolloid] out there that can stabilize it. This recipe for beurre monté uses [link https://www.chefsteps.com/activities/the-science-of-xanthan-gum xanthan gum] to heat-stabilize the fat-in-water emulsion, which means it’ll stay emulsified within a much larger temperature range. You can even chill this beurre monté down, stash it in the fridge for a couple weeks, and warm it back up again. That’s right: It’s bulletproof, and, as a result, super-convenient to have around. The secret’s out. Use it to make [link https://www.chefsteps.com/activities/precision-butter-poached-lobster Precision Butter-Poached Lobster] and spoon it over at the end for a silky and delicious sauce. Add a spoonful to some sautéed vegetables for a shimmery shiny glaze. Add a spoonful to a broken pan sauce to bring it back together and zhuzh it up a little. The world of beurre monté is yours.Crullers
by
Timing
2 hrs total; 30 min active
Yield
8 crullers
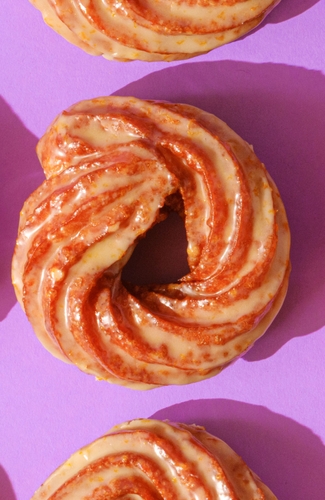
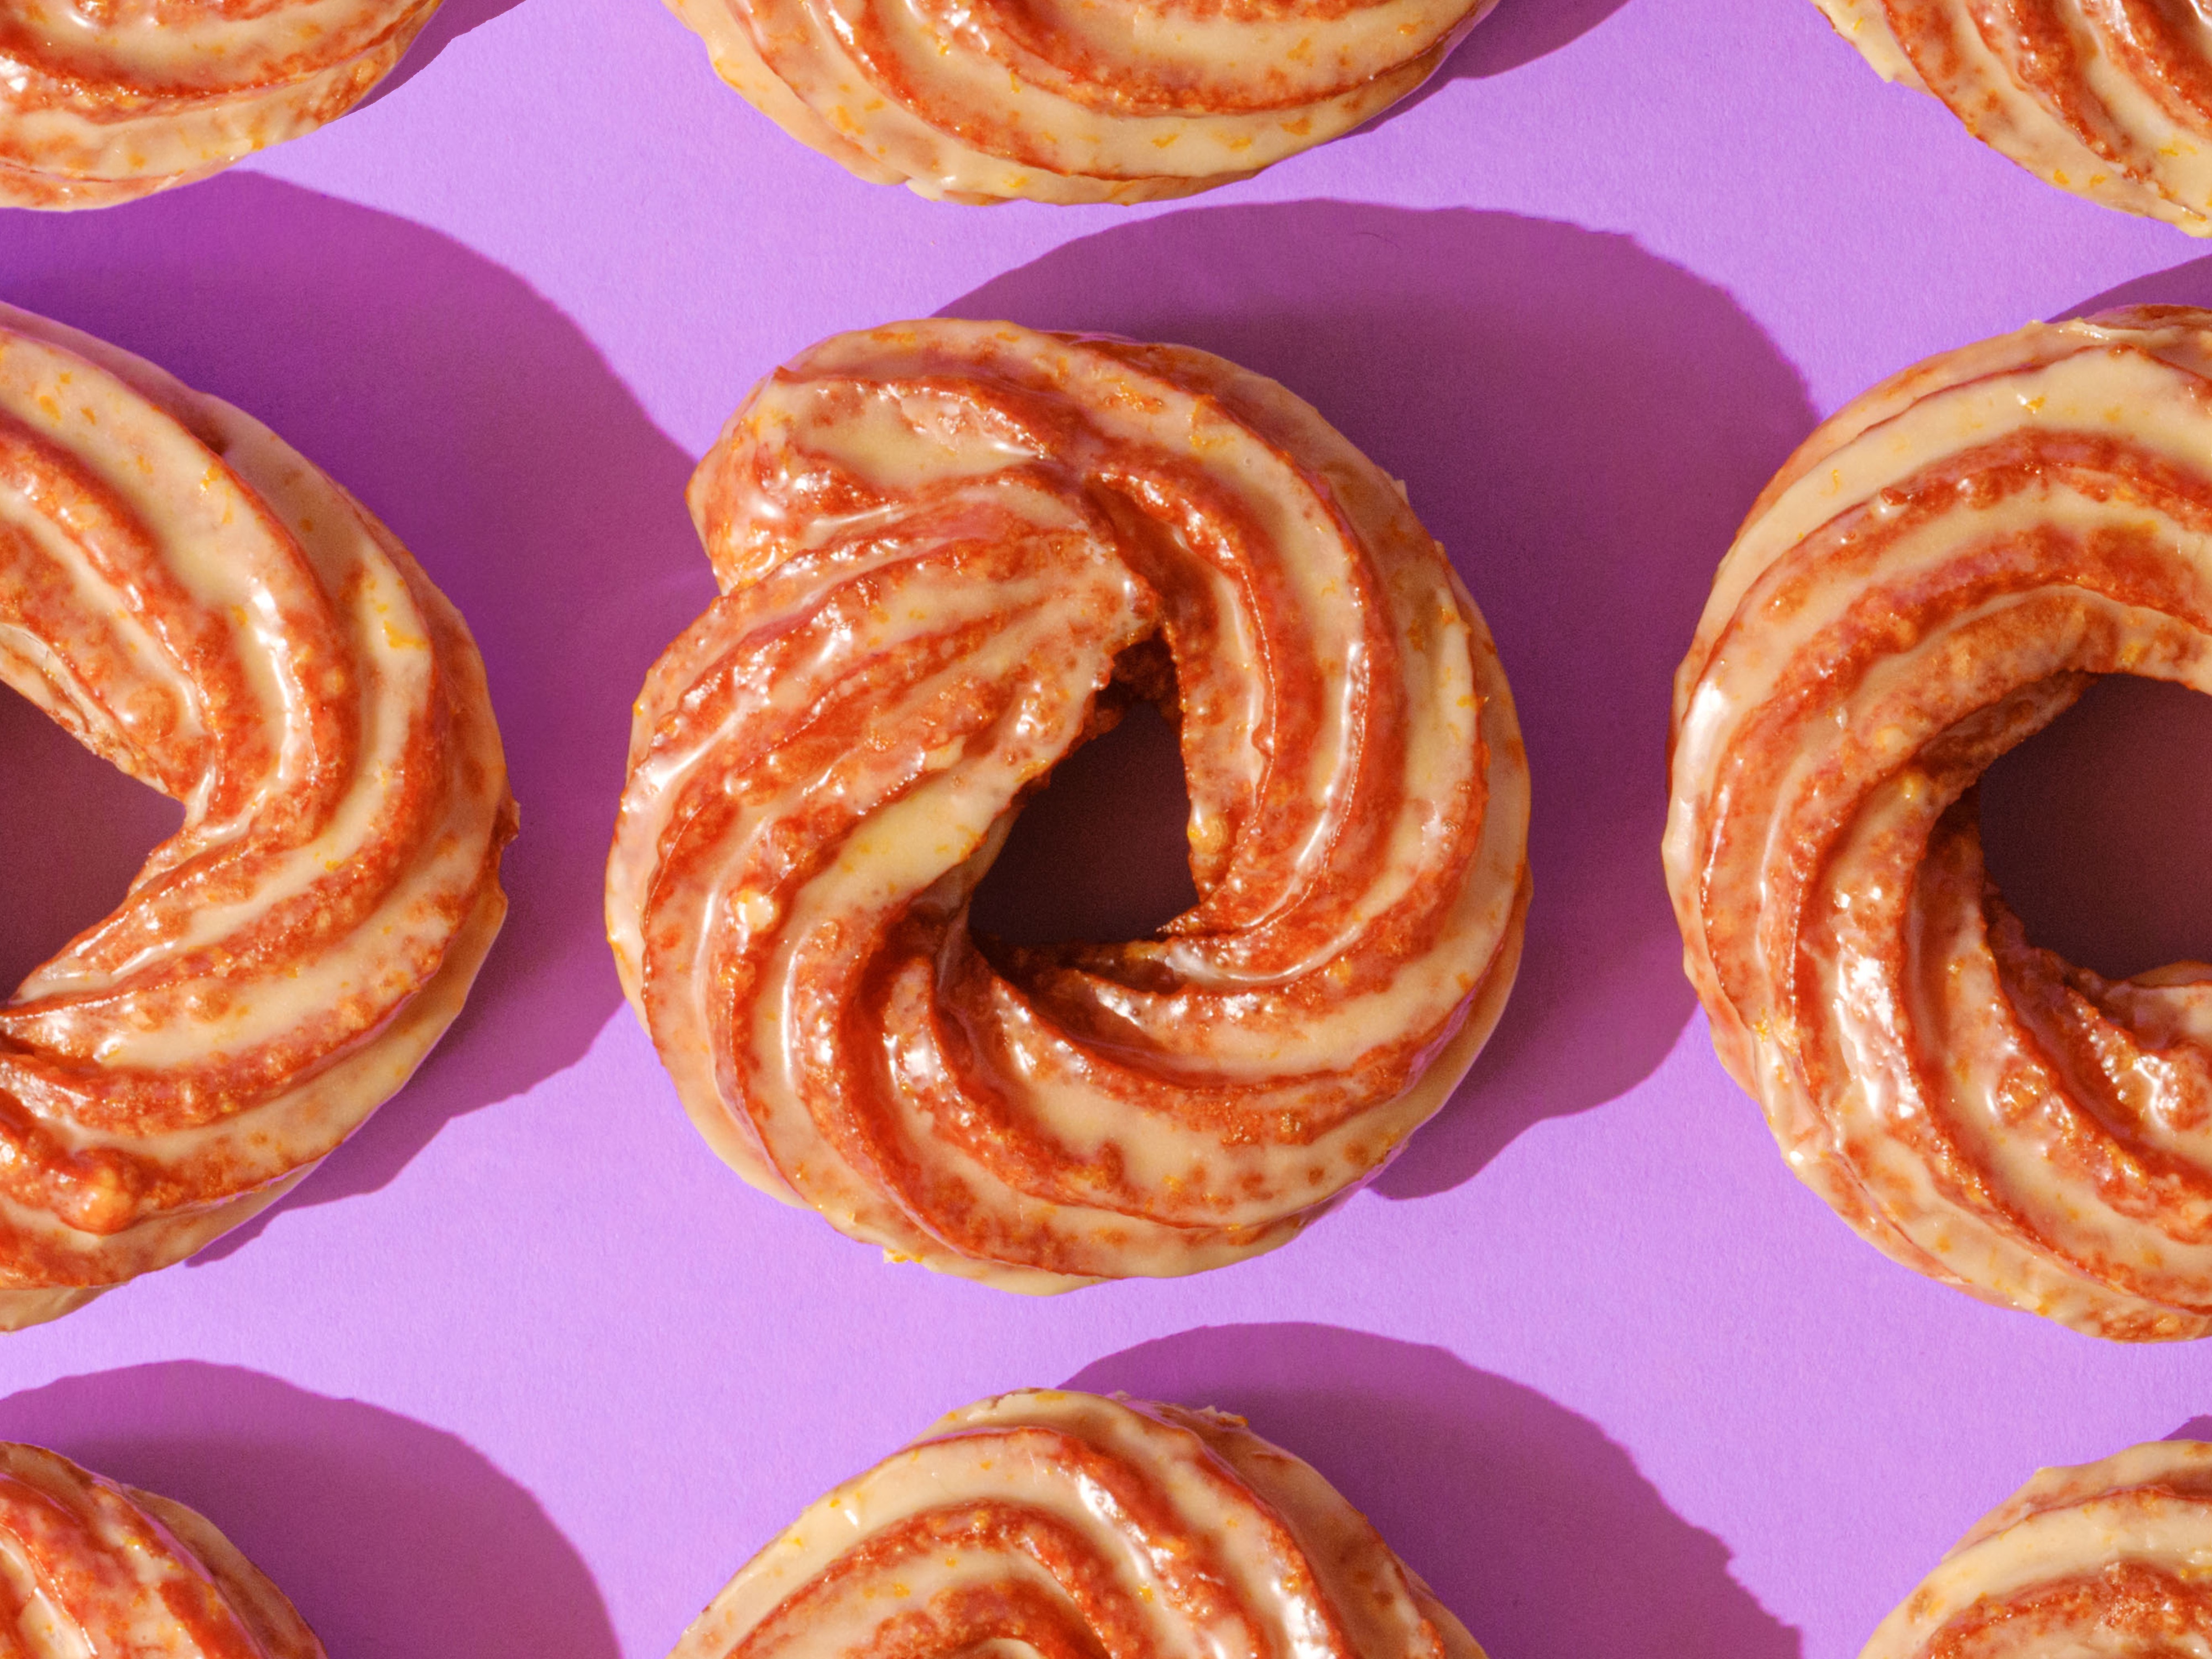
Ever wonder what happened to the crullers at ye olde local chain [link https://www.chefsteps.com/activities/how-to-make-bulletproof-fluffy-yeasted-doughnuts-at-home doughnut] shoppe? Us, too! It’s not just that they don’t make ’em like they used to; at most shops, they don’t make ’em at all! Well, we took matters into our own hands. The key to making crullers that are even better than the classic ridged eggy O’s of fried dough? Nailing the precise frying temperature for the pâte à choux, the eggy dough used to make things like éclairs and gougères. Like all choux-based recipes, this one is rooted in fundamental proportions and techniques. For example, a 1:1:1 ratio by weight of water to milk to butter gives an ideal balance of crispness, tenderness, and richness respectively; and a 4:1:1 ratio of eggs to volume of liquid and flour is standard for most choux dough. Most importantly, cooking the flour-liquid paste gelatinizes starches and partially breaks down [link https://www.chefsteps.com/activities/gluten-seitan-and-vital-wheat-gluten gluten], which renders the dough less elastic. Once the pre-gelatinized starch paste gets dropped in the fryer, the dough will rapidly expand as water converts to steam. But frying crullers can be tricky. If the oil is too cold, the gluten network won’t set and the crullers won’t maintain their shape—the doughnuts will collapse as soon as they cool. Too high a temperature, and the moist and eggy interior will disappear, turning dry and chalky instead. We found [f 340] to be just right, and when you can dial in that frying temperature with precision, you’re rewarded with perfect crullers, every time.Precision Hollandaise
by
Timing
10 min total; 5 min active
Yield
4 servings; 1 cup
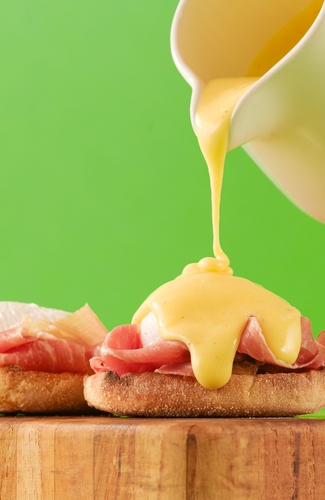
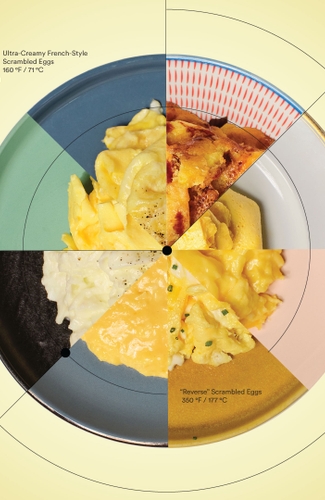
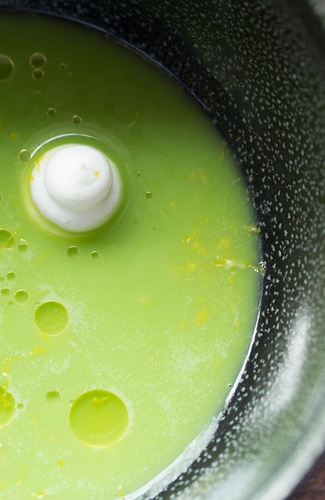
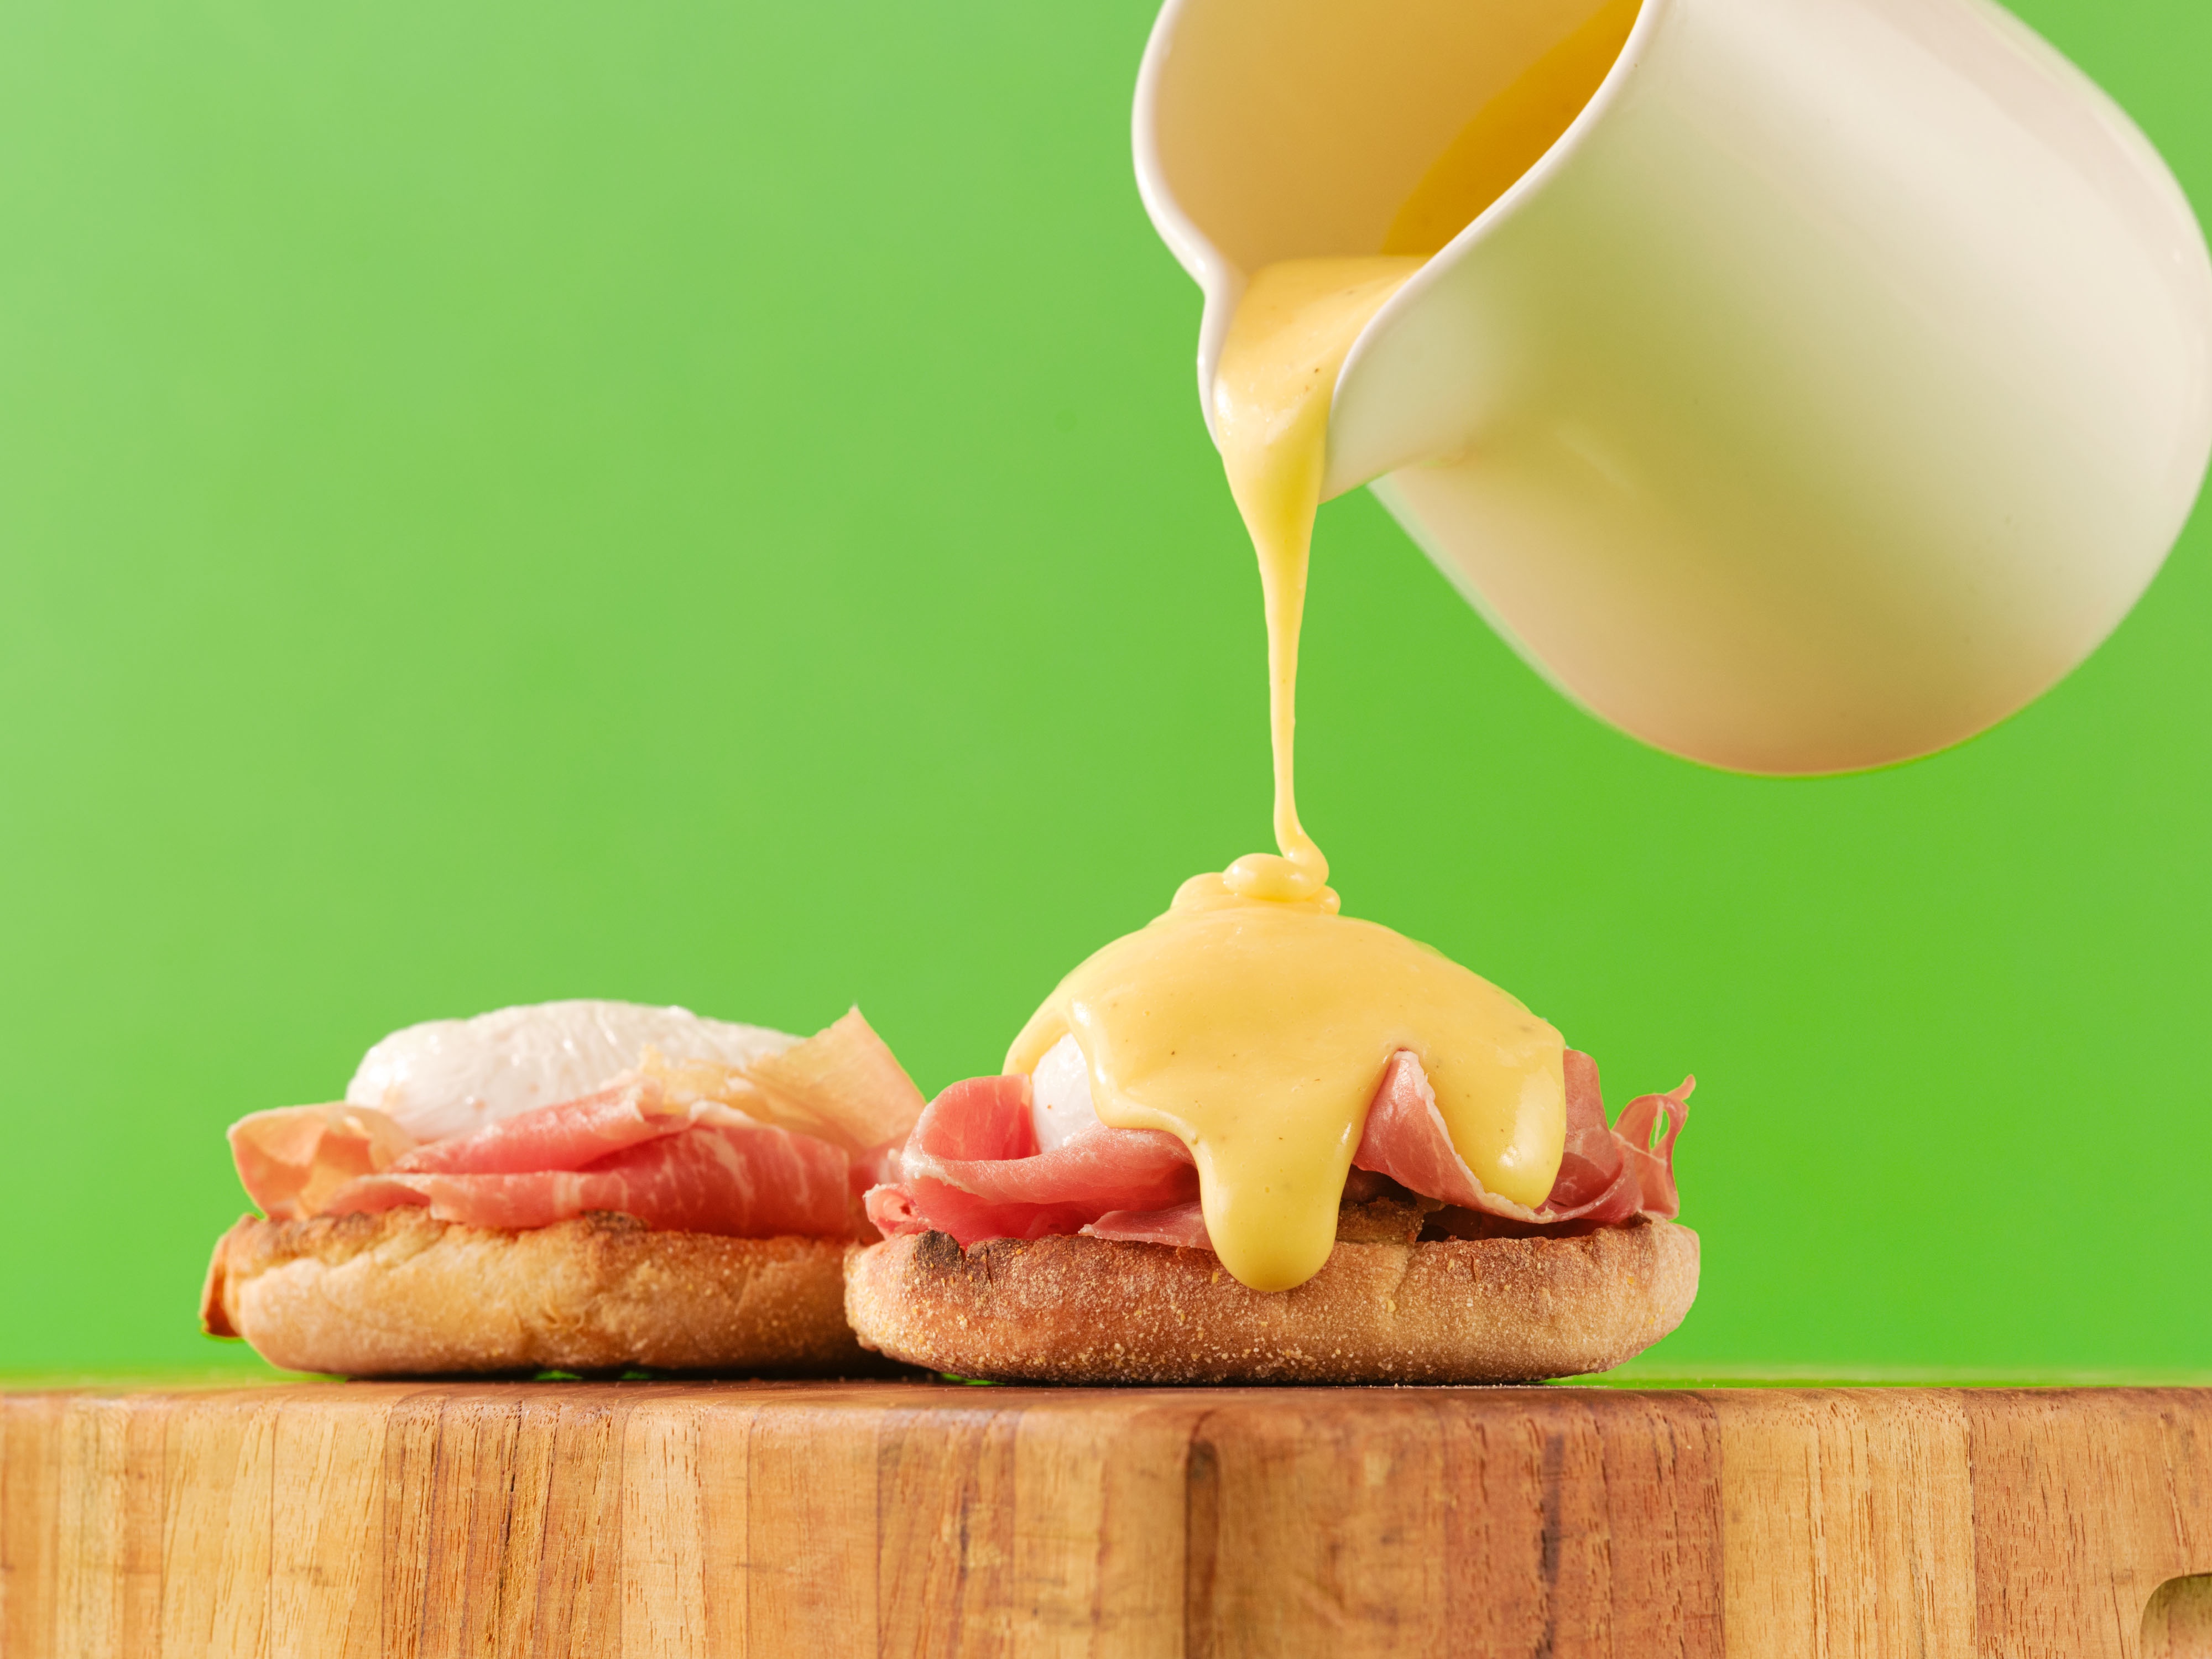
Hollandaise is one of the most temperamental of all French sauces. Many cooks have tried to make hollandaise—tried and failed, cursing the heavens as they stare at a bunch of greasy [link https://www.chefsteps.com/activities/precision-scrambled-eggs scrambled eggs] instead of creamy, hot mayonnaise. Over the years, we’ve come up with different methods to get from raw eggs, acid, and butter to a beautiful hollandaise—[link https://www.chefsteps.com/activities/an-instant-way-to-an-even-better-hollandaise using a blender], [link https://www.chefsteps.com/activities/foolproof-sous-vide-eggs-benedict using sous vide], [link https://www.chefsteps.com/activities/bright-fluffy-whipped-hollandaise and even a whipping siphon]. This one might just be the best yet, and it also happens to be the easiest we’ve ever used. The key? Precise temperature control, on your stovetop. Classic techniques for making hollandaise rely on gentle heating of the egg yolks and acid using a double boiler, which limits how hot the mixture can get because [link https://www.chefsteps.com/activities/should-you-steam-it-or-boil-it-the-difference-matters steam] won’t exceed [f 212] at normal atmospheric pressure. Even with that approximate temperature regulation, each method requires the cook to understand and respond to visual and other sensory cues to produce a silky sauce—and not a curdled mess. But if you can precisely control the temperature of the saucepan so it sits at [f 185], you can literally just dump all the ingredients in there, stir, and watch as the emulsion forms and thickens, transforming from a runny liquid into a rich, spoon-coating sauce. When you dial in the pan temperature, the process is dead simple, which frees you up to notice elements of it that you'd otherwise be too harried or stressed to appreciate, like the phase change that occurs as the emulsion slowly forms and thickens. Do it several times, and you’ll find that even the fussiest of classic hollandaise techniques won’t be intimidating at all. You’ll have a solid reference point for the exact texture you want to achieve, and you’ll have the experience of watching, as if in slow motion, the sauce form. Put simply, you’ll understand the nuances of regulating temperature control when dealing with temperature-sensitive emulsions.Precision Scrambled Eggs
by
Yield
1 serving
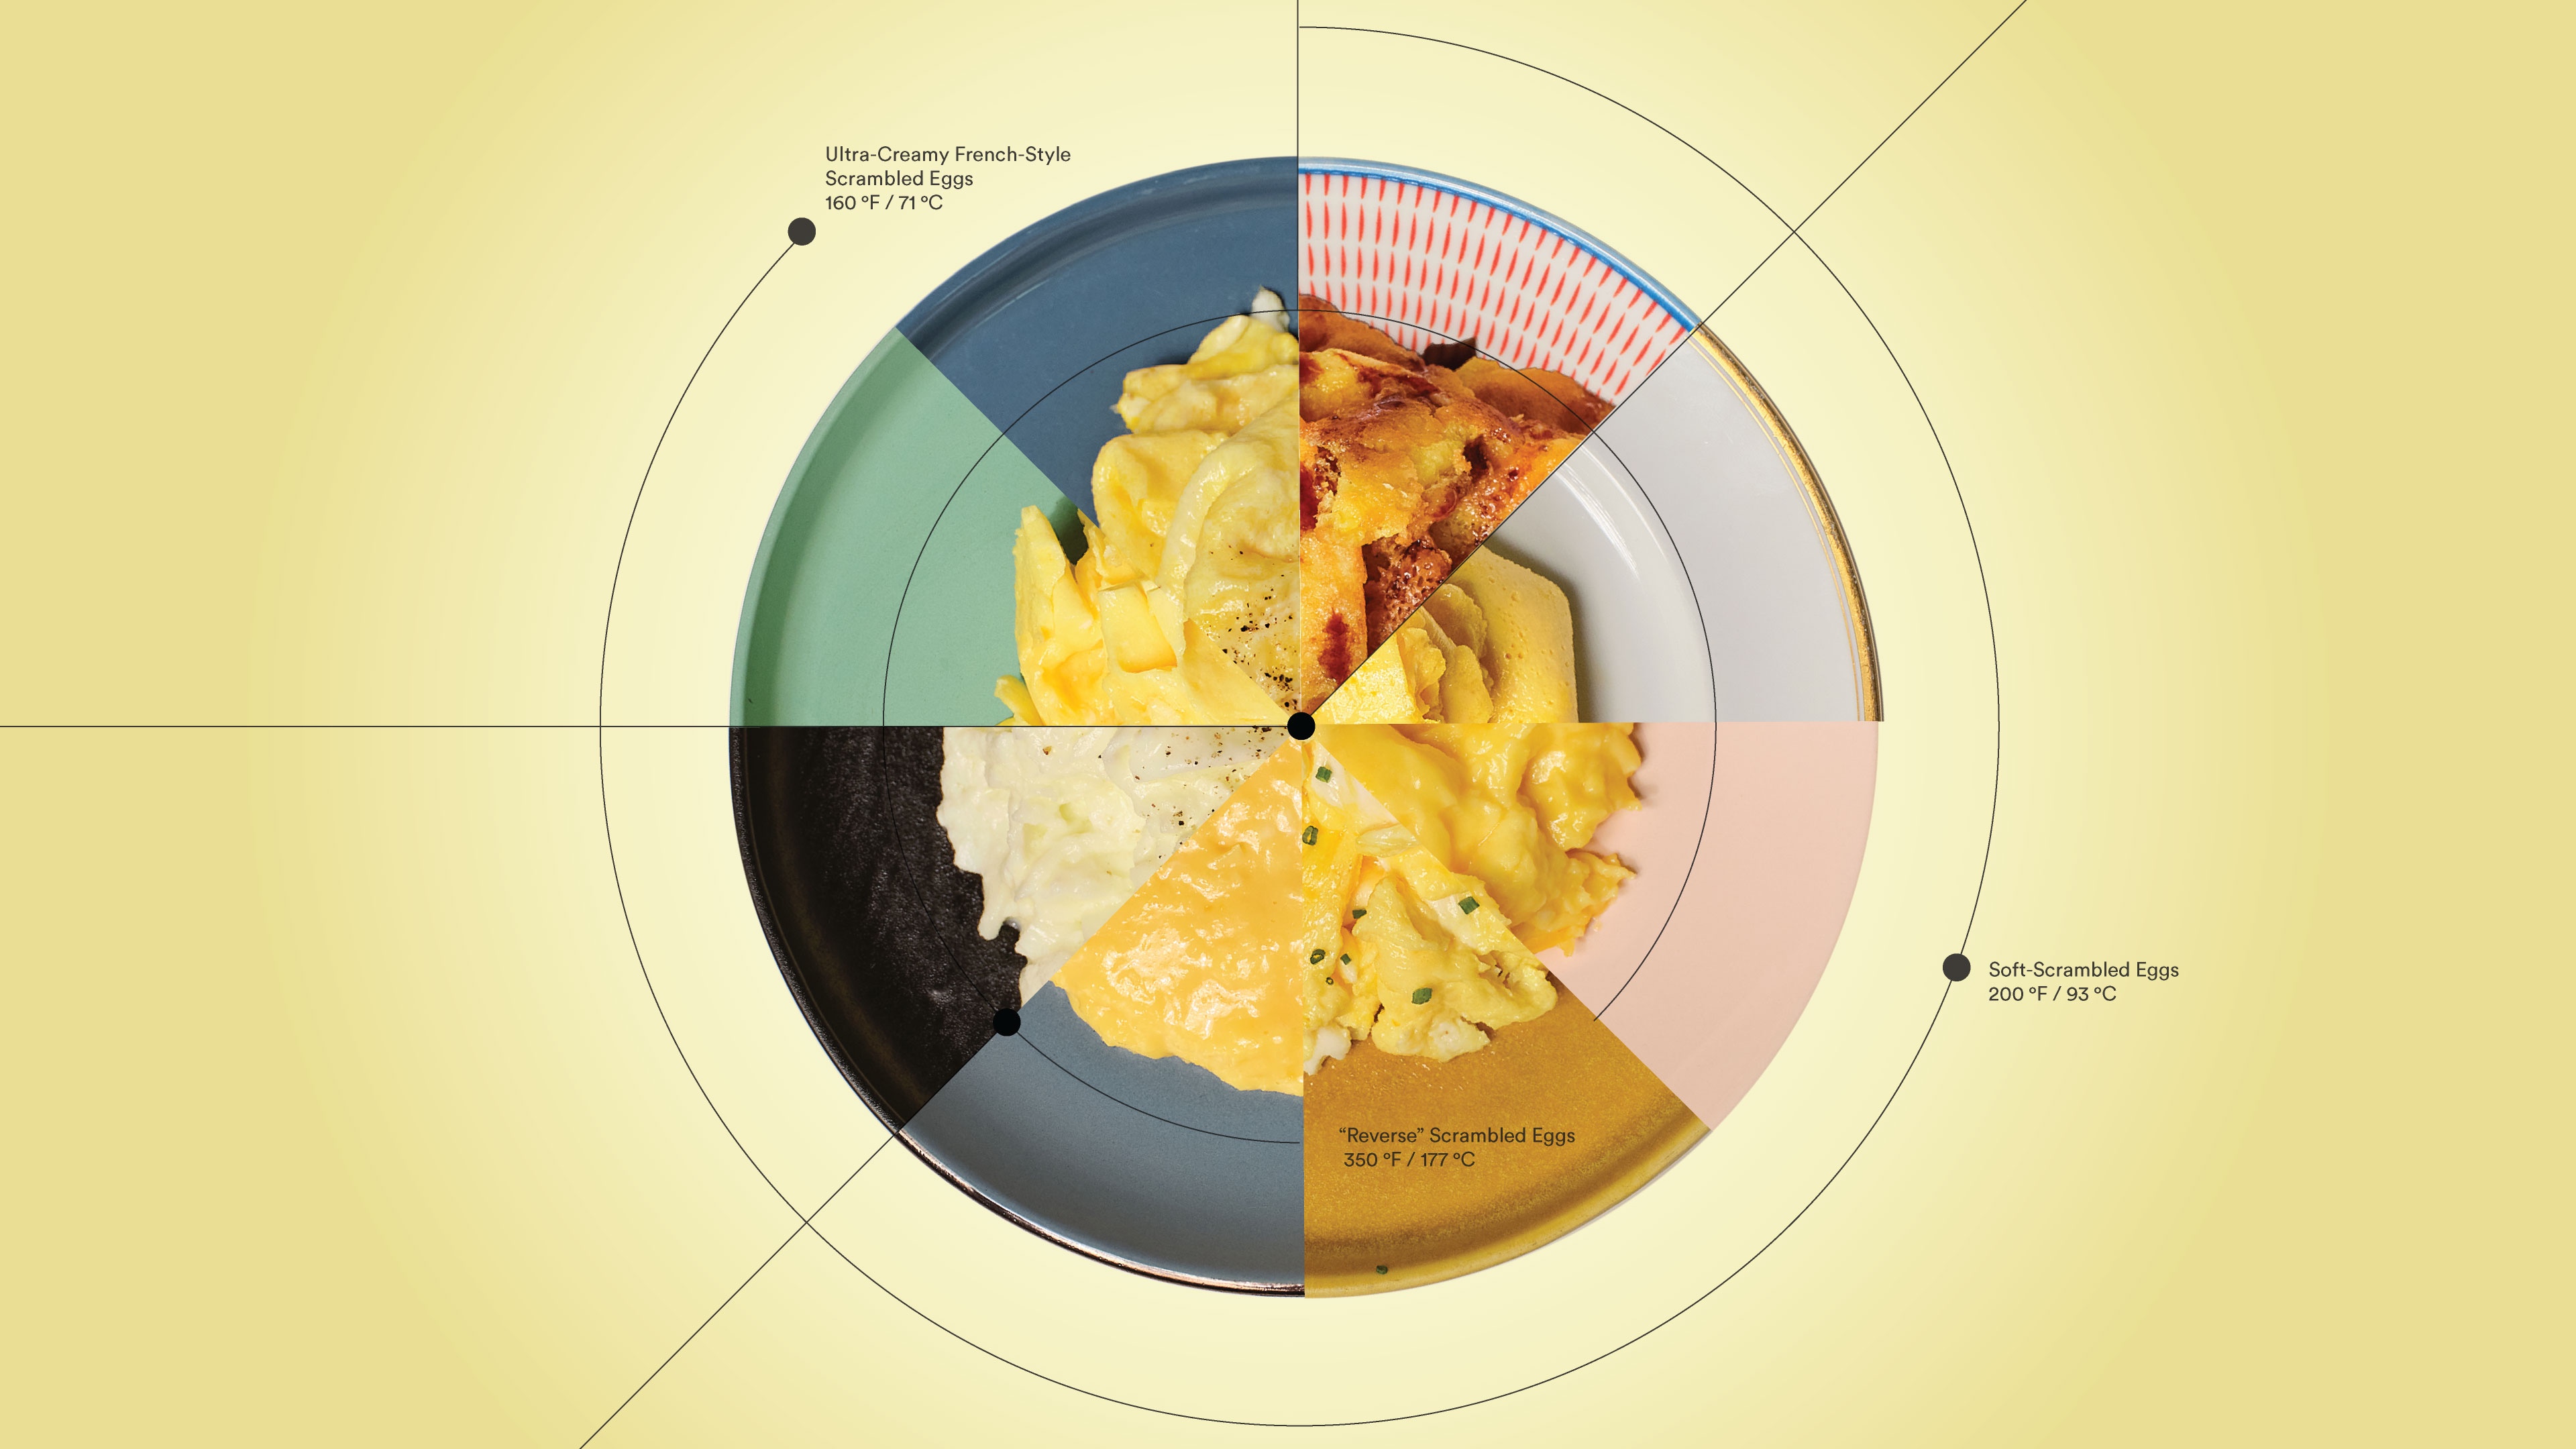
Scrambled eggs ... everyone’s got an opinion. Maybe you like them fluffy. Maybe you like them fancy and French—so runny and custardy they puddle on the plate. Maybe you swear by the method of that shouty British chef, who mixes up his oeufs with a little crème fraîche. We don’t judge. Scrambled eggs can be prepared a million different ways. And while there are all sorts of adjuncts you can mix into your eggs to get different textures and flavors, this simple preparation with countless permutations showcases the range of transformations you can accomplish by varying the application of heat over time. Cooked low and slow and the egg proteins coagulate gently, yielding a substance somewhere between a liquid and a solid—a custard. Hot and fast, and the egg proteins coagulate violently, producing large curds with substantial snap. Distribute the heat in different ways—mixing near constantly or casually—and you get even more textural variation. Conventional recipes rely on a conventional bag of tricks to manage temperature on your stovetop beyond just turning the knobs on your stove—like adding the eggs before the butter foams, or after, stirring eggs on-heat, then off-heat. We’re all for learning classic techniques, but they’re not foolproof, and they don’t guarantee consistently perfect results. But with the unmatched precision temperature control of the Control °Freak, you have total control over cooking results, so you can get perfect scrambled eggs, just the way you (or your kids) want them, every time. We've developed recipes for scrambled eggs that span the texture spectrum from ultra-creamy to super-crispy, with dialed-in times and temperatures for the Control °Freak, along with detailed videos and instructions to walk you through the process for each one. (You don’t have to have a fancy induction burner to make all these eggs, but it’ll make your breakfast routine a whole lot easier.) Pick the scrambled egg texture you want from the chart below and get cracking!Precision Caramelized Onions
by
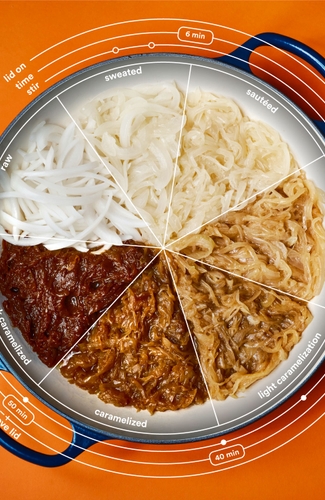
It’s a truth universally acknowledged that caramelizing onions takes way longer than any recipe would have you believe. Until now. The issue most cooks have with following instructions for caramelizing onions is that the process is deceptively simple. Three ingredients—onions, butter, salt—cooked in a standard-issue pan ... how complicated could it be? But as soon as you get the pan on the hob, complications set in. How high is “medium-high” heat? Does it matter if you use a 2-quart pan instead of a 3-quart pan or a Dutch oven? When you read that the onions should be “thinly sliced,” how thin are you going to cut them? 1/2-inch slices? (Please, no.) 1/4-inch? All of these variables affect the rate at which the onions release water, break down, and the sugars they contain slowly start to caramelize. But even if you use a recipe that eliminates these variables (and you follow it exactly), one variable will still remain: the amount of heat you apply. And that’s because most cooks are working with imprecise sources of heat: gas or electric burners of various sizes. However, if you set the cook temperature precisely and regulate it so that it stays as close to constant as possible, the amount of time it takes to transform the onions from raw to any cooked stage you like will stay pretty much constant, as well. (There will be slight variation depending on how closely you follow the recipe’s procedure and, say, the exact water content of your onions.) With a Control °Freak induction burner, you can do that. We took the process a step further to generate this caramelized onion visual doneness guide. The procedure for each level of doneness is essentially the same: Cook sliced onions gently, covered, and stir occasionally until they’re cooked to your liking. The only variance between types of onions is the frequency with which you have to stir them, but even for the darkest caramelized onions, the process is almost entirely hands-off. Aside from providing visual references for the different degrees of caramelization you can achieve by cooking onions in butter, it also illustrates how the steady application of heat at a set temperature can produce wildly different textures and flavors by adjusting the cook time.No-Fuss French Fries
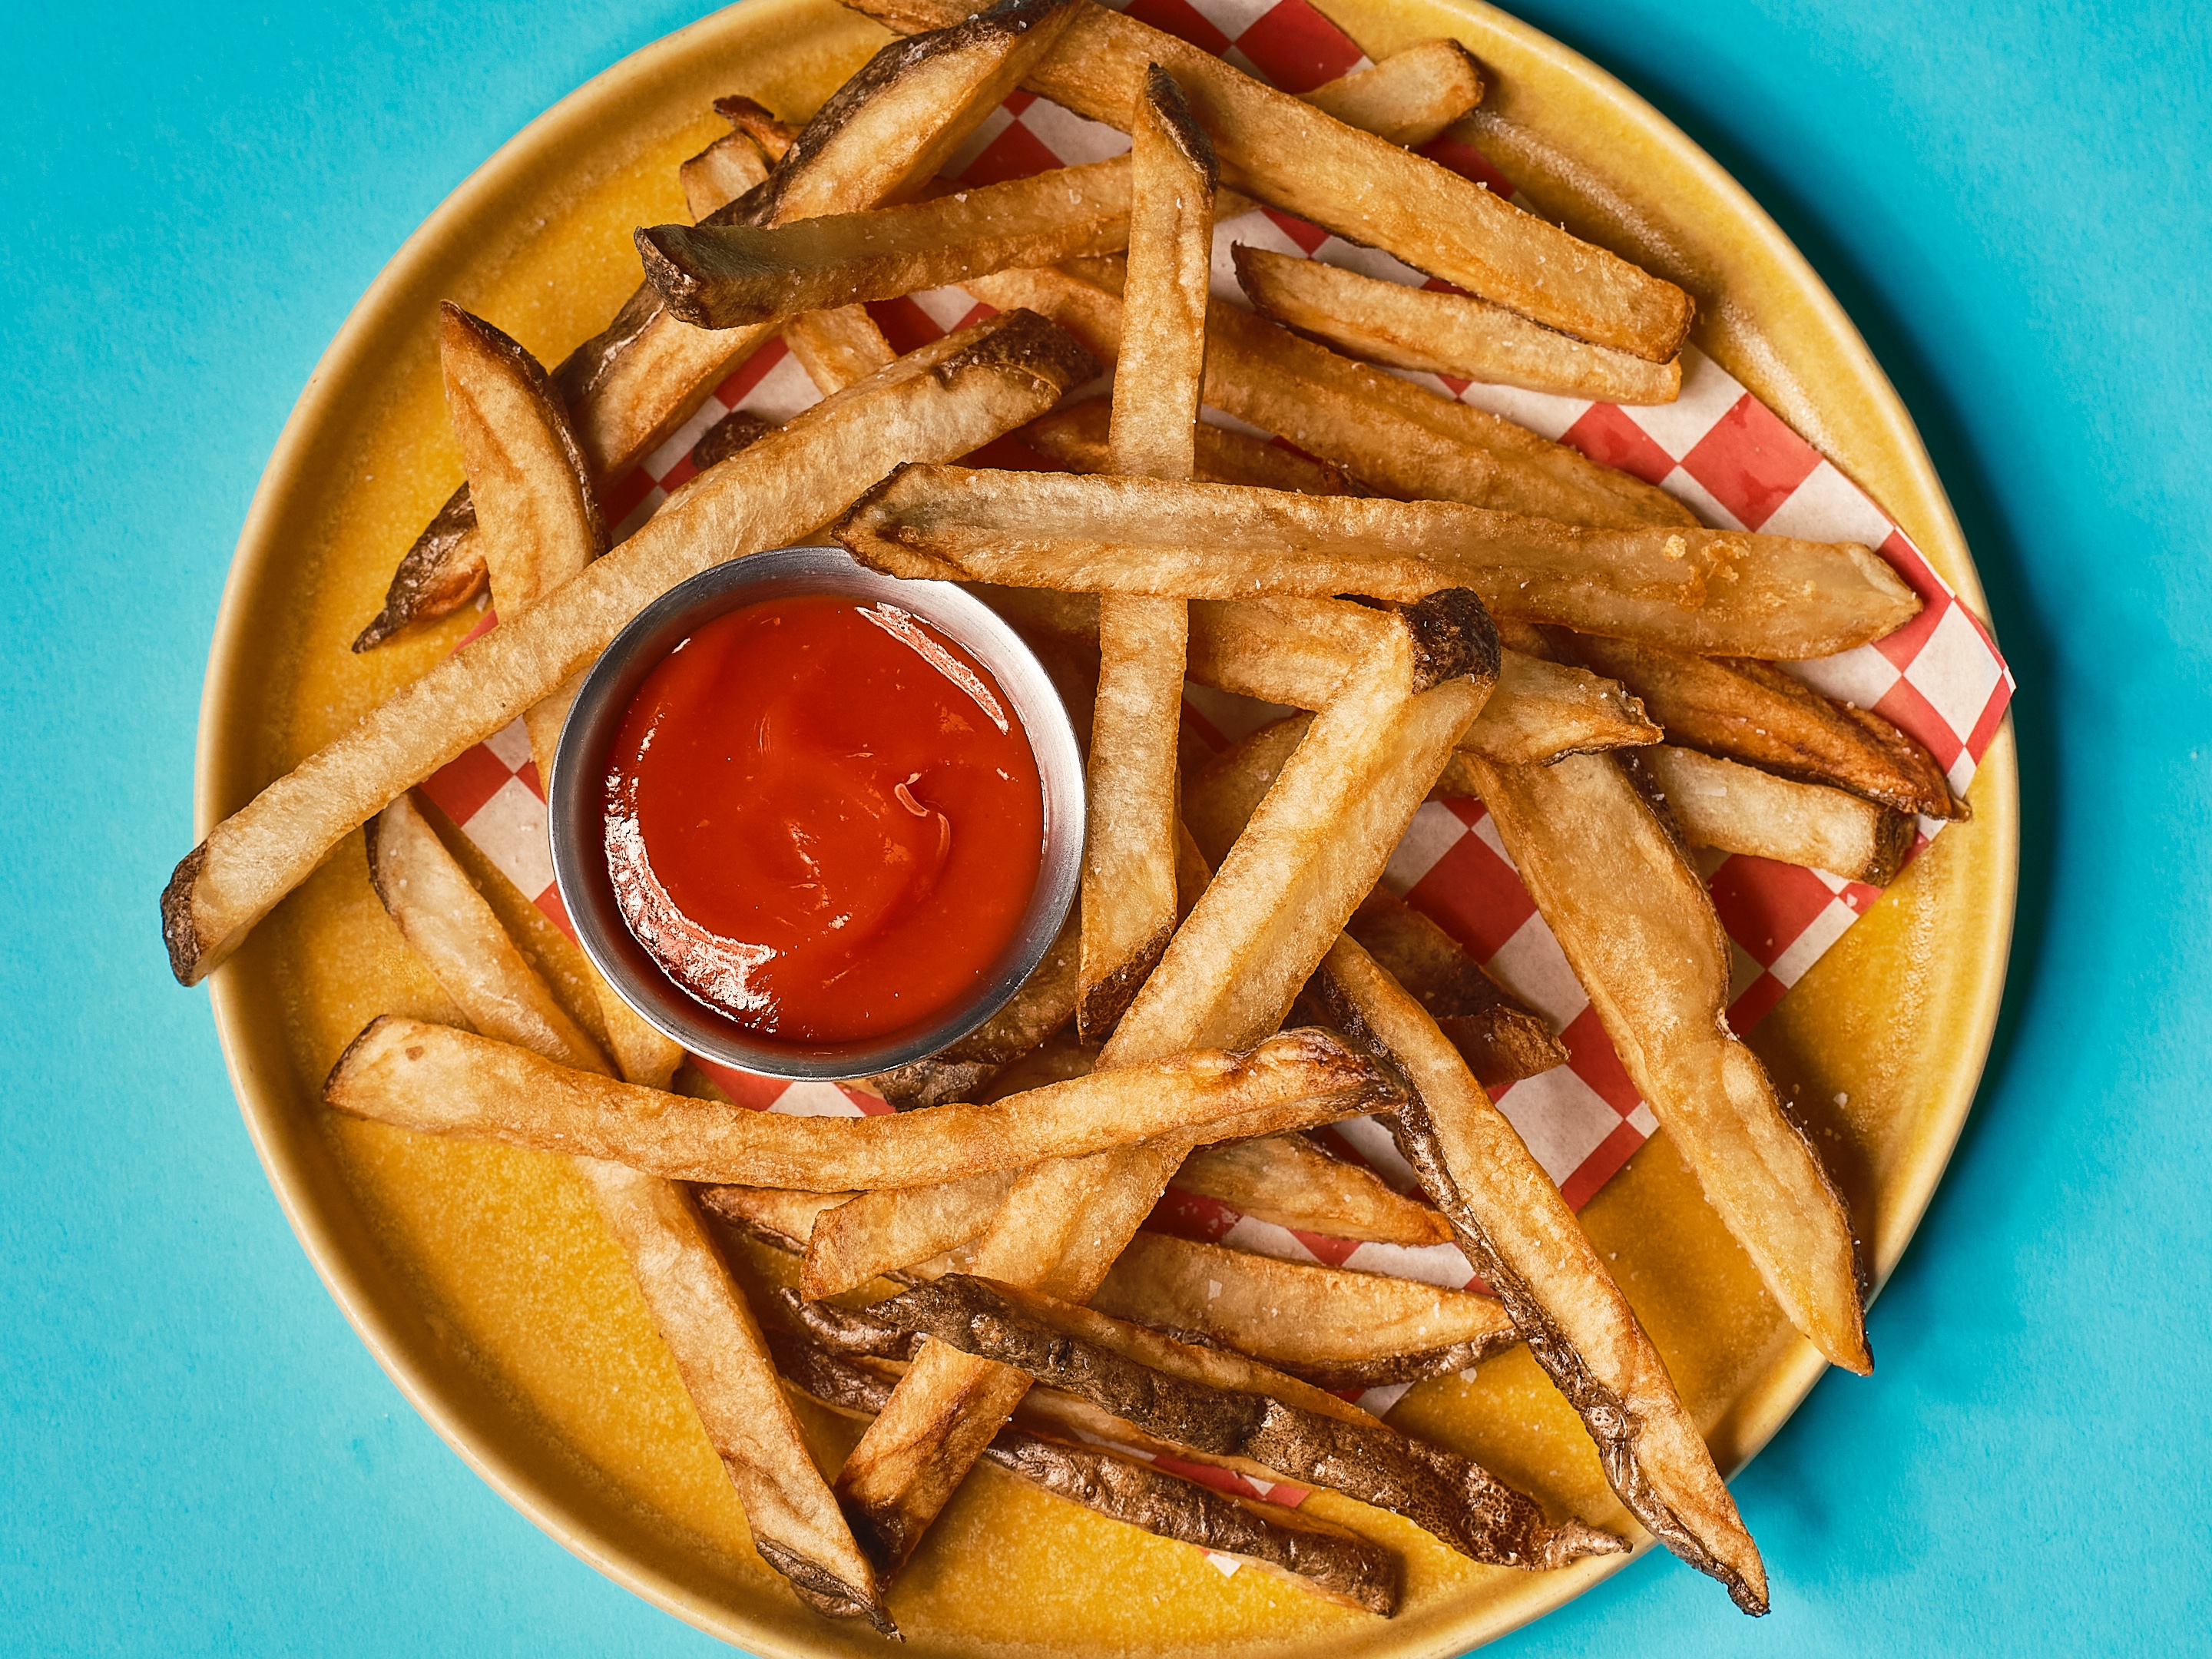
by
Timing
30 min total; 10 min active
Yield
1 to 2 servings
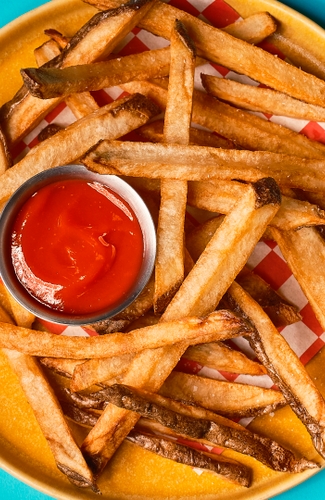
Making french fries at home ... no thanks. It’s such a hassle. Making them well is a huge ordeal, and it requires a ton of cleanup. Chances are there’s a joint nearby that sells ’em cheap, crispy, and delicious. When it comes to frites, outsourcing is the way to go. Yep, we feel this way, too. Even though we have all these different french fry recipes— [link https://www.chefsteps.com/activities/thin-cut-french-fries thin], [link https://www.chefsteps.com/activities/thick-cut-french-fries thick], [link https://www.chefsteps.com/activities/ultimate-crispy-french-fries super crispy]. This is why we figured out [link https://www.chefsteps.com/activities/air-fried-frozen-french-fries the best way to air fry them from frozen]. Convenience, sometimes, is king. But sometimes you need a small batch of fresh-cut fries, and you need them as close to right now as possible. Maybe you’re making [link https://www.chefsteps.com/activities/sous-vide-steak steak], a speedy batch of mussels, or some [link https://www.chefsteps.com/activities/butter-burger burgers]. “Fries would really tie this meal together,” you think, “but I am not blanching and double-frying potato sticks.” We challenged ourselves to come up with a good french fry that was as unfussy to prepare as possible. And we did it: Start the potatoes in cold oil and take advantage of the precise temperature control of [link https://www.chefsteps.com/activities/how-induction-works induction cooking]. You end up using less than half the amount of oil you would with regular fries; it’s a single fry, so you don’t have to deal with multiple cooking steps; you don’t have to adjust the temperature during cooking; and did we mention that they’re really good? Frying at home just got a whole lot more appealing.Ultimate Chicken Kyiv
by
Timing
2 hrs total; 40 min active
Yield
4 servings
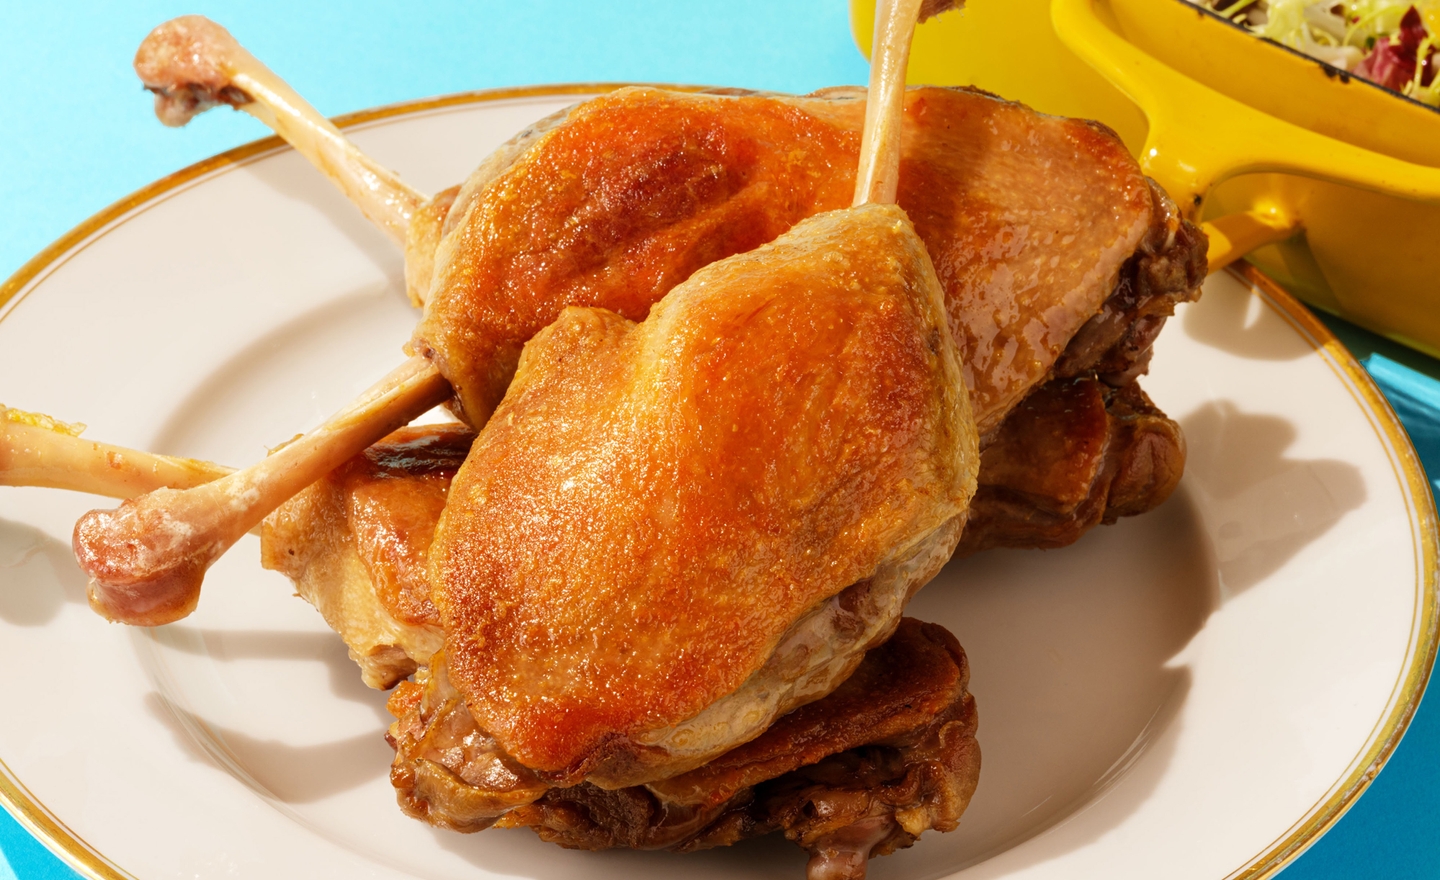
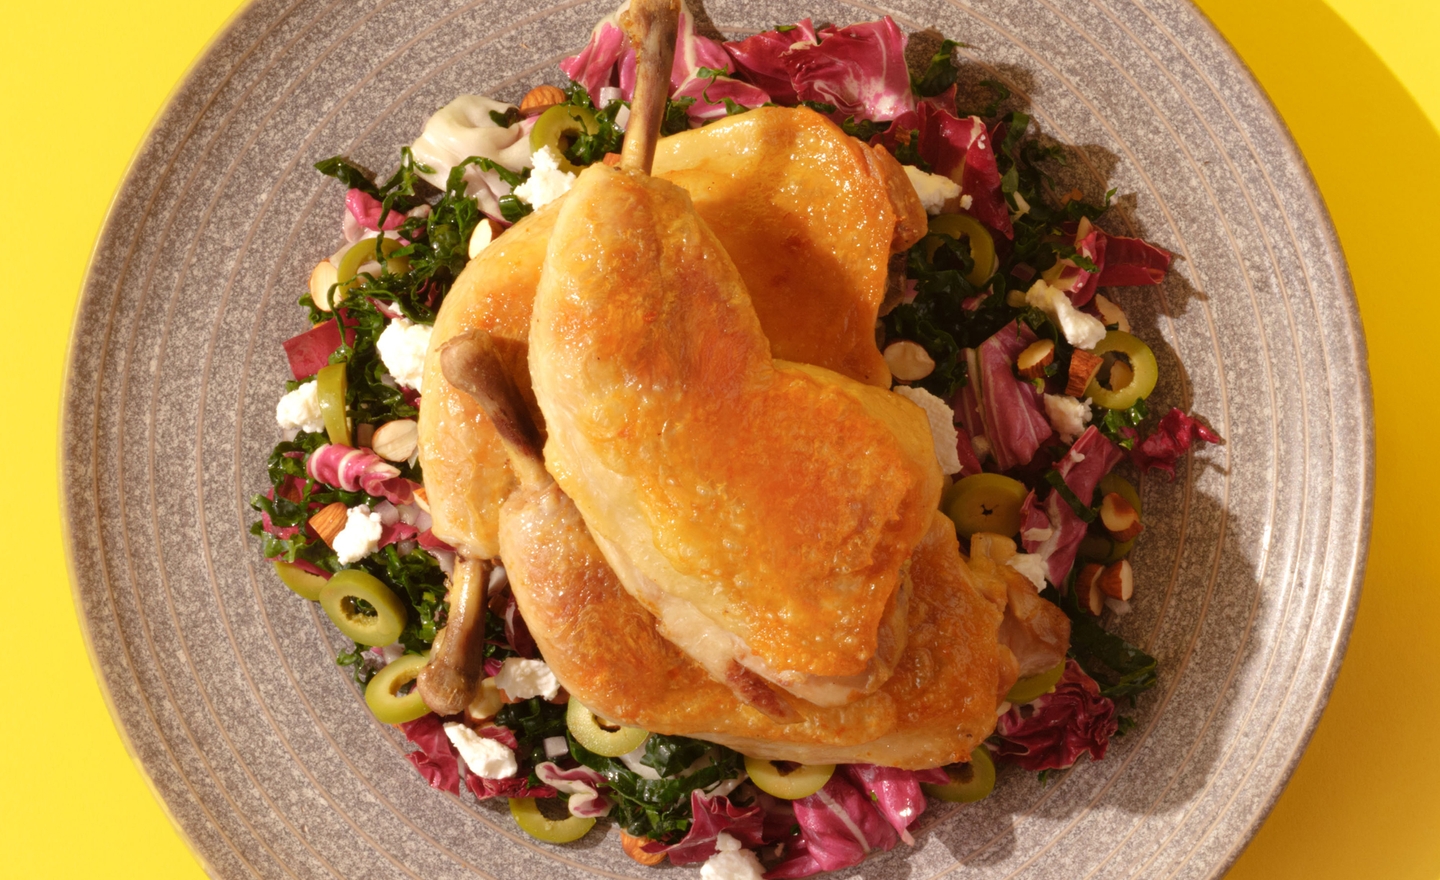
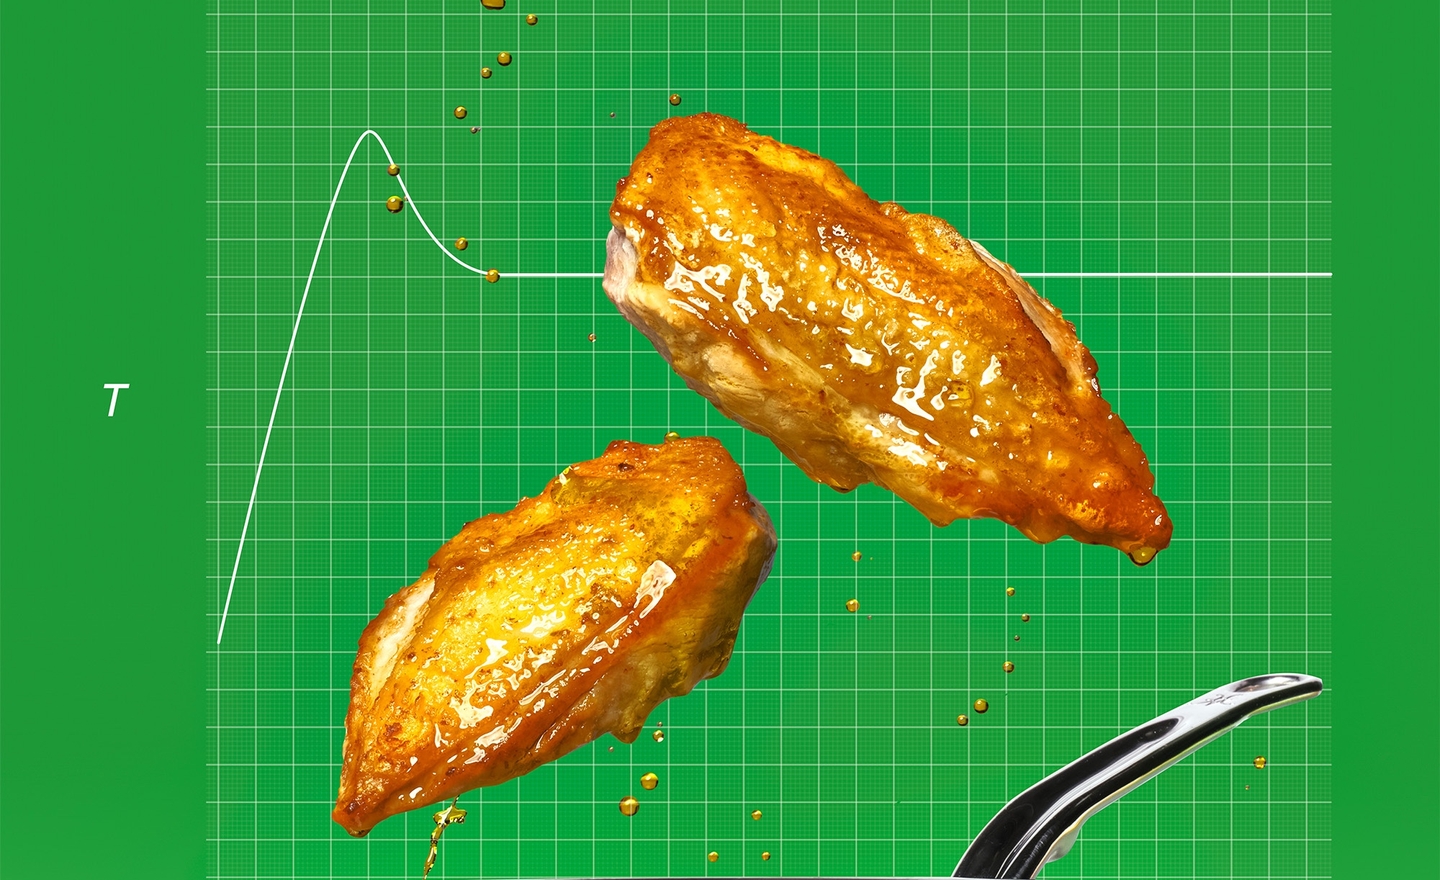
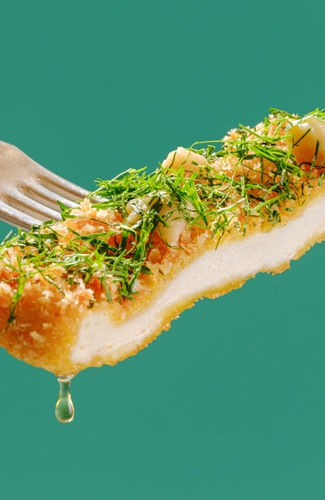
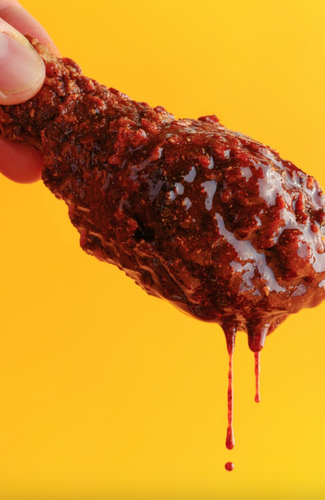
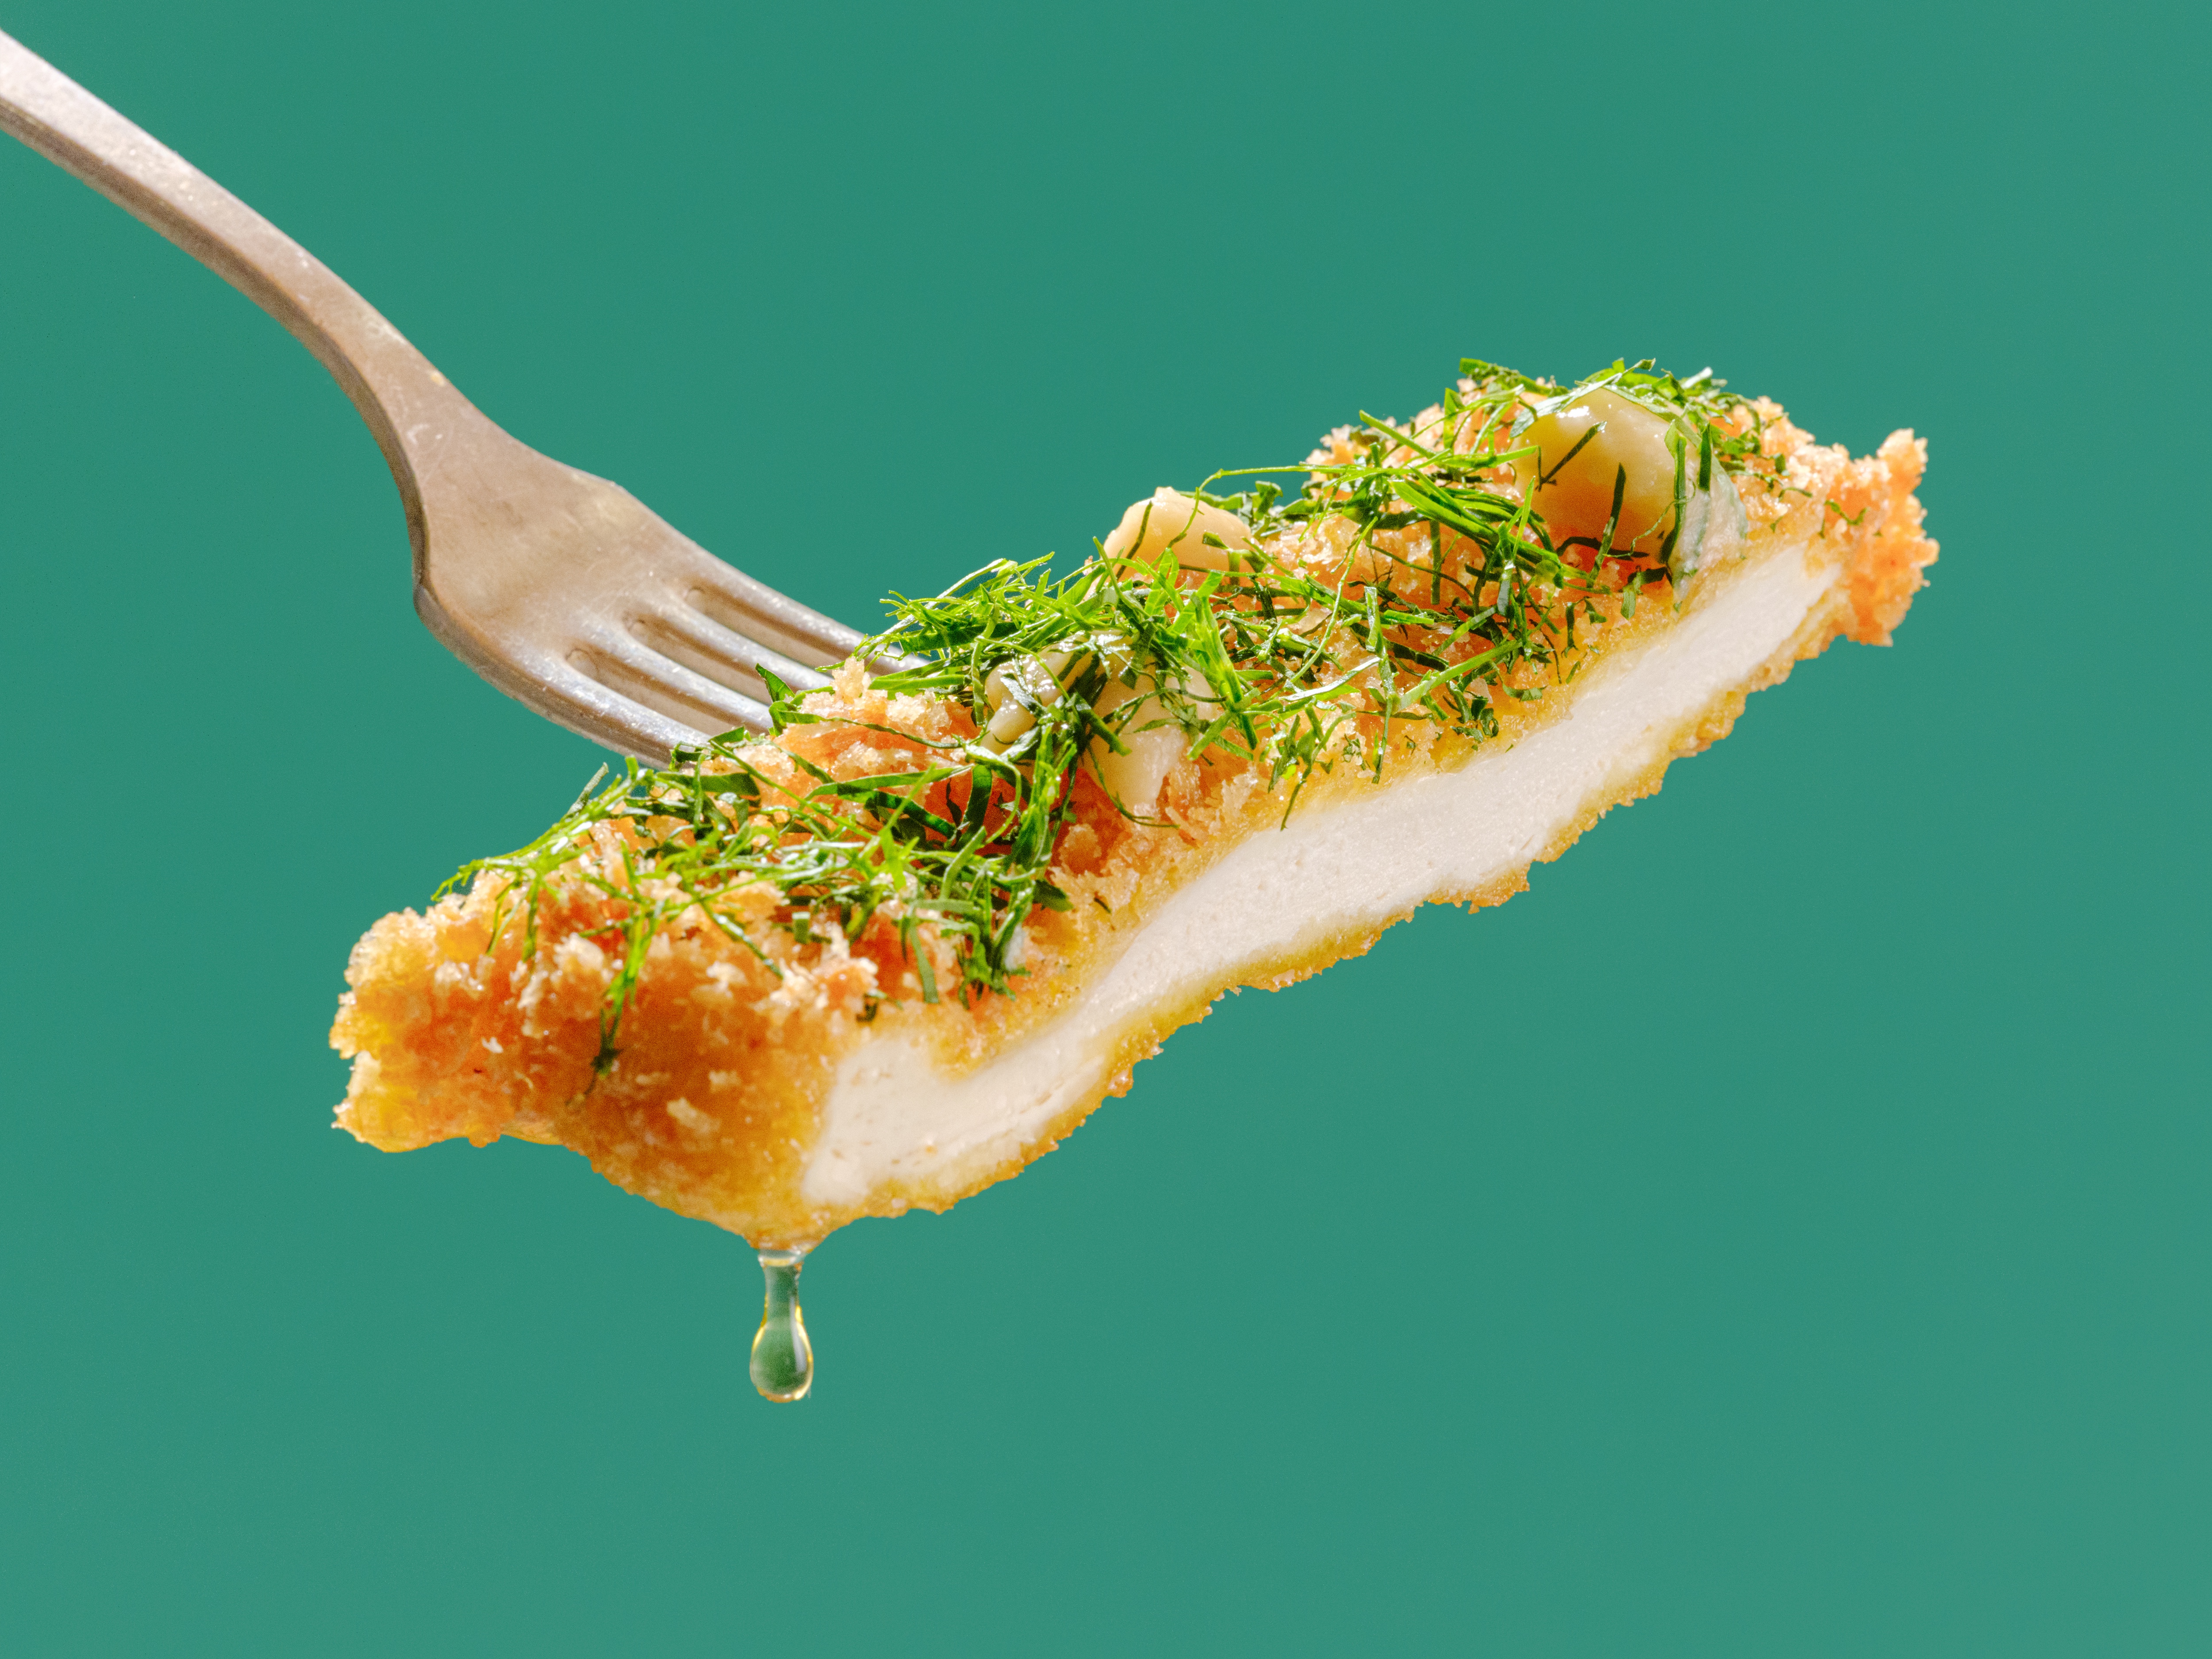
Chicken Kyiv is a classic, if dated, dish consisting of pounded chicken cutlets wrapped around cold compound butter packed with garlic and herbs, breaded, and deep fried—essentially a chicken cutlet that sauces itself once you cut it open. It’s a little bit of old-timey culinary sleight of hand, a way to elevate a breaded cutlet into a performance on a plate. This is our take on it. Sure, it doesn’t look like a deep-fried butter bomb, but it is! We turned the fussy butter gusher preparation into a straightforwardly delicious cutlet. To preserve all the buttery flavor of the original, we fry the cutlet in clarified butter (this is the best way to fry cutlets, even if it’s a little pricier than using oil). We also confit garlic in clarified butter and blitz it into a purée, which we use as a garnish on the cutlet. A double dredge in panko yields a super-crispy crust, and a generous amount of parsley chiffonade over the top helps cut through the butter. It’s crispier, super buttery, and plenty herby: It’s chicken Kyiv reimagined (and way better).Chili Fried Chicken
by
Timing
13 hrs total; 1 hr active
Yield
4 to 6 servings
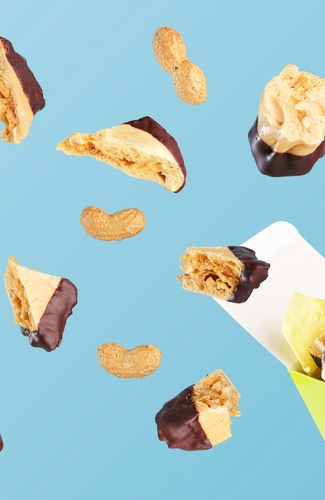
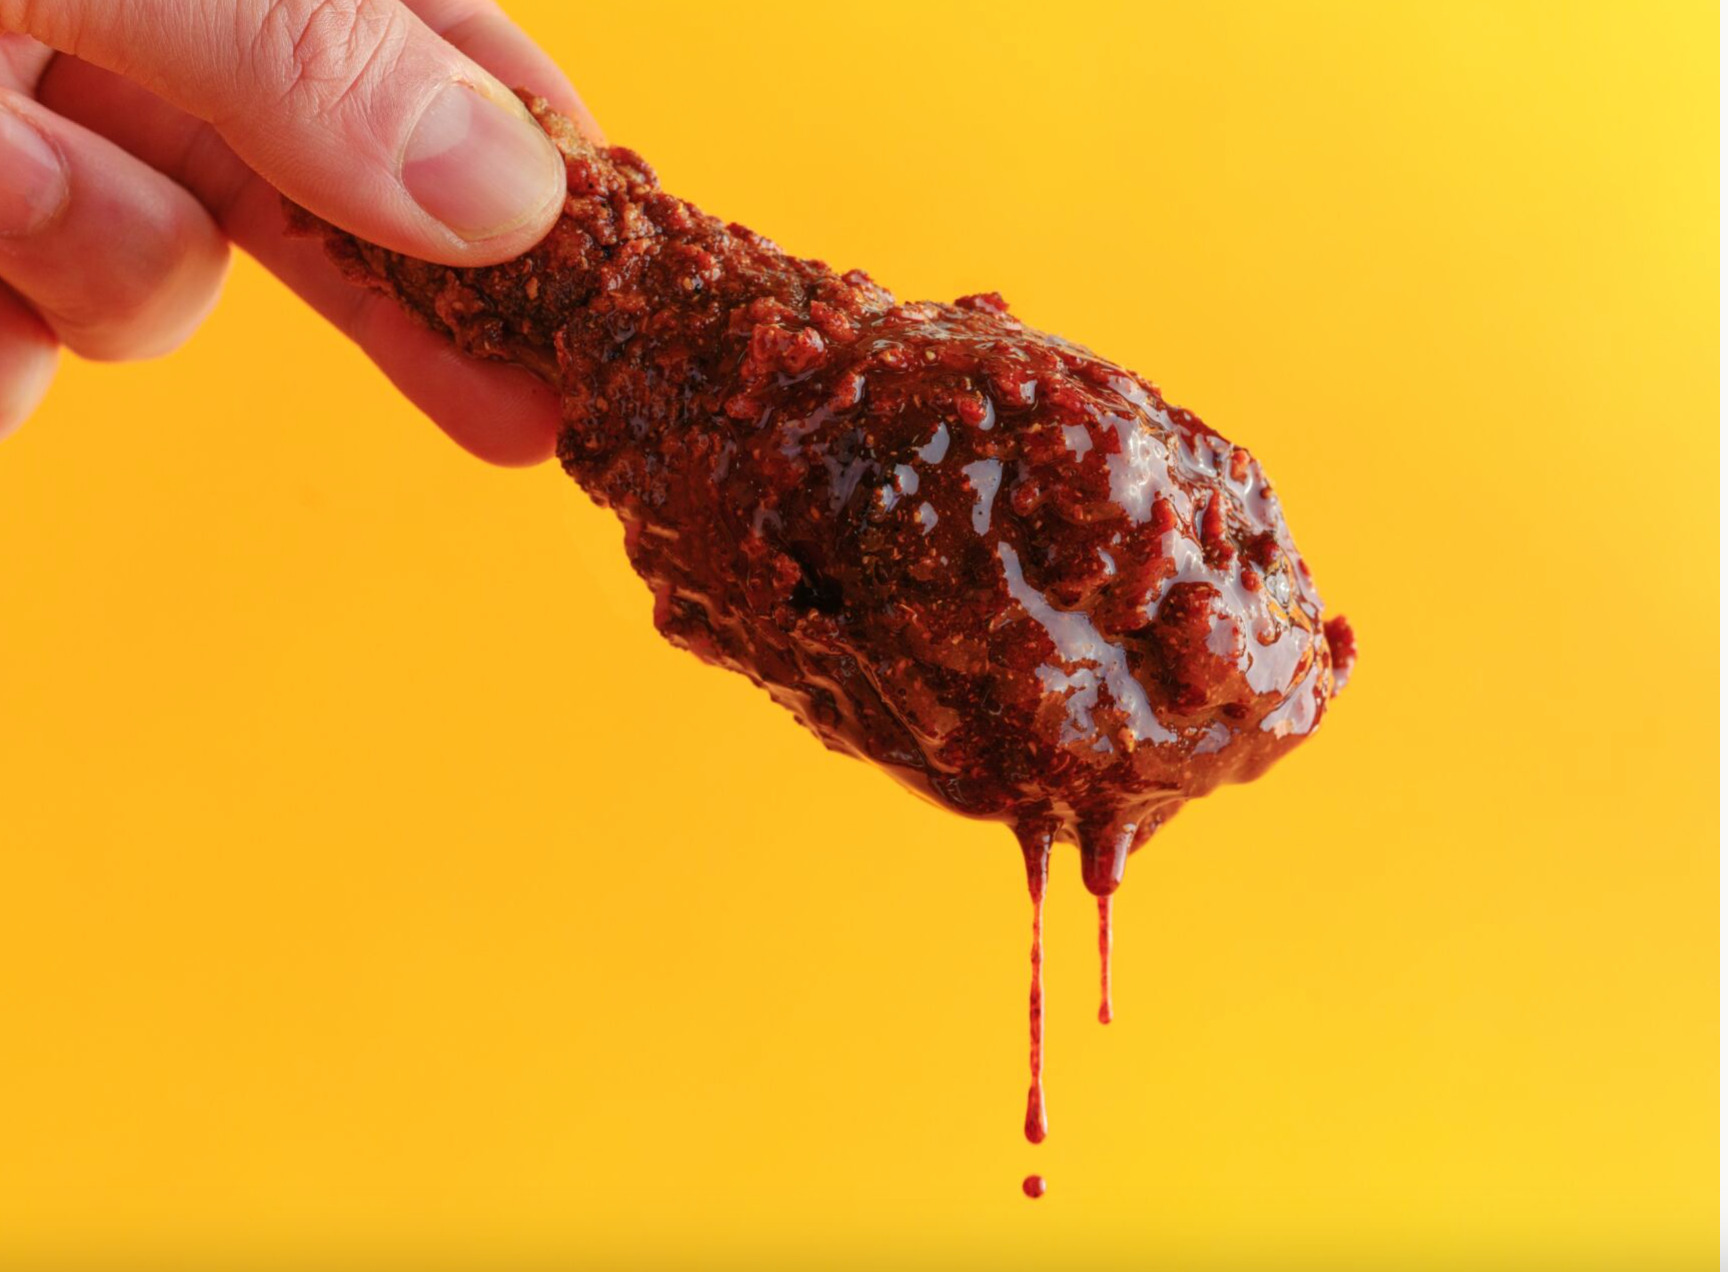
Every culture has its fried chicken. Crispy, salty, meaty, and juicy—it’s easy to see why it’s universally loved. This version is a marriage between Nashville hot chicken and Taiwanese popcorn chicken. I’d worked in fine dining for a while, most recently as a sous chef at Eleven Madison Park, but when the pandemic hit, I decided to start a fried chicken popup. People loved it, and now I sling chicken all day every day at Pecking House in New York City. From the Southern culinary tradition, I cribbed the buttermilk marinade (for tender, juicy, well-seasoned meat), the double fry (to create an incredibly craggy crust), and the chile oil dip. From Taiwanese popcorn chicken and other kinds of Asian fried chicken, I borrowed the technique of using a mix of starches in the coating to produce a more pronounced crunch. I also took advantage of the distinctive and aromatic spices of the Chinese pantry: numbing Sichuan peppercorns, fiery Tianjin chiles, and the warmth of Chinese five-spice powder. (And, of course, a little MSG.) Making exceptional fried chicken isn’t hard, but it does require attention to detail. Let me break those details down for you: The chicken: There’s a lot of different ways to break down a chicken, each suited to different applications. Our method aims for consistently sized pieces while preserving the integrity of the skin as much as possible. Where it differs from other chicken butchery methods is primarily in the way the breasts are prepared. We keep the rib cage on, so it serves as an anchor for the skin, and we split the whole breast through the keel, which helps to insulate the meat while it fries. Instead of cutting the split breasts exactly in half crosswise, we split them on a bias on the “40-yard-line,” which gives you more consistently sized pieces that’ll cook through in the same amount of time. The dredge: The No. 1 thing you want for the coating is for it to stick. In other ChefSteps fried chicken recipes, that’s accomplished by letting the chicken sit in its dredge, which helps to hydrate the flour. We wanted something a little more efficient for handling large volume, so we achieve a similar effect by just adding a small amount of flour to the buttermilk marinade. The flour hydrates, thickening the marinade to an almost yogurt-like consistency, and that paste ends up forming a lattice the dry dredge can hold onto during the frying process. So, we can just pull the chicken out of the marinade, dredge, and get straight to frying. Crispy and juicy chicken: If you start off with cooked chicken, like [link https://www.chefsteps.com/activities/foolproof-sous-vide-fried-chicken sous vide fried chicken], all you need to do while frying is crisp and brown the crust. When you cook from raw, you have to cook the chicken through without burning the crust, and you have to get the crust crispy without drying the chicken. Our solution is to fry at a relatively low temp ([f 325]) and use a double fry. This is super simple to do in a commercial fryer—there’s lots of oil, so adding cold chicken doesn’t drop the temp too much and it recovers quickly. In a home kitchen, you’ll be using a smaller volume of oil, so you need to start off with oil at a higher temperature—[f 350]—which will then drop down to [f 325] once you add the chicken. You also want to keep the chicken pieces moving more than you would in commercial fryer to ensure even cooking. (Be gentle; you work hard for that crust.) Chile oil: The key to the chile oil, other than the spice mix used to season it, is viscosity. To get it to cling to the fried crust with just the right amount, you don’t want it too liquid. We found a mix of duck fat and neutral oil keeps it both flowing and slightly viscous (with the duck fat providing extra depth of flavor and richness), and that viscosity is enhanced by the maltodextrin in the vinegar powder we add to the oil for a little acidity. At room temp, the chile oil coats the chicken just right.Aerated Peanut Butter Brittle
by
Timing
30 min active; 30 min resting
Yield
About 400 grams (3 cups)
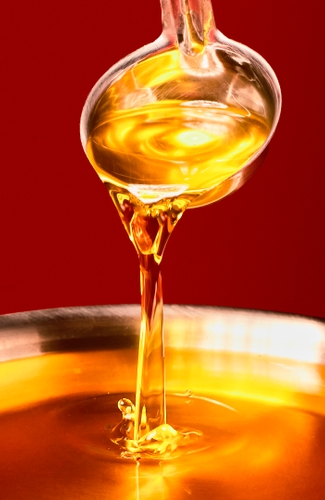
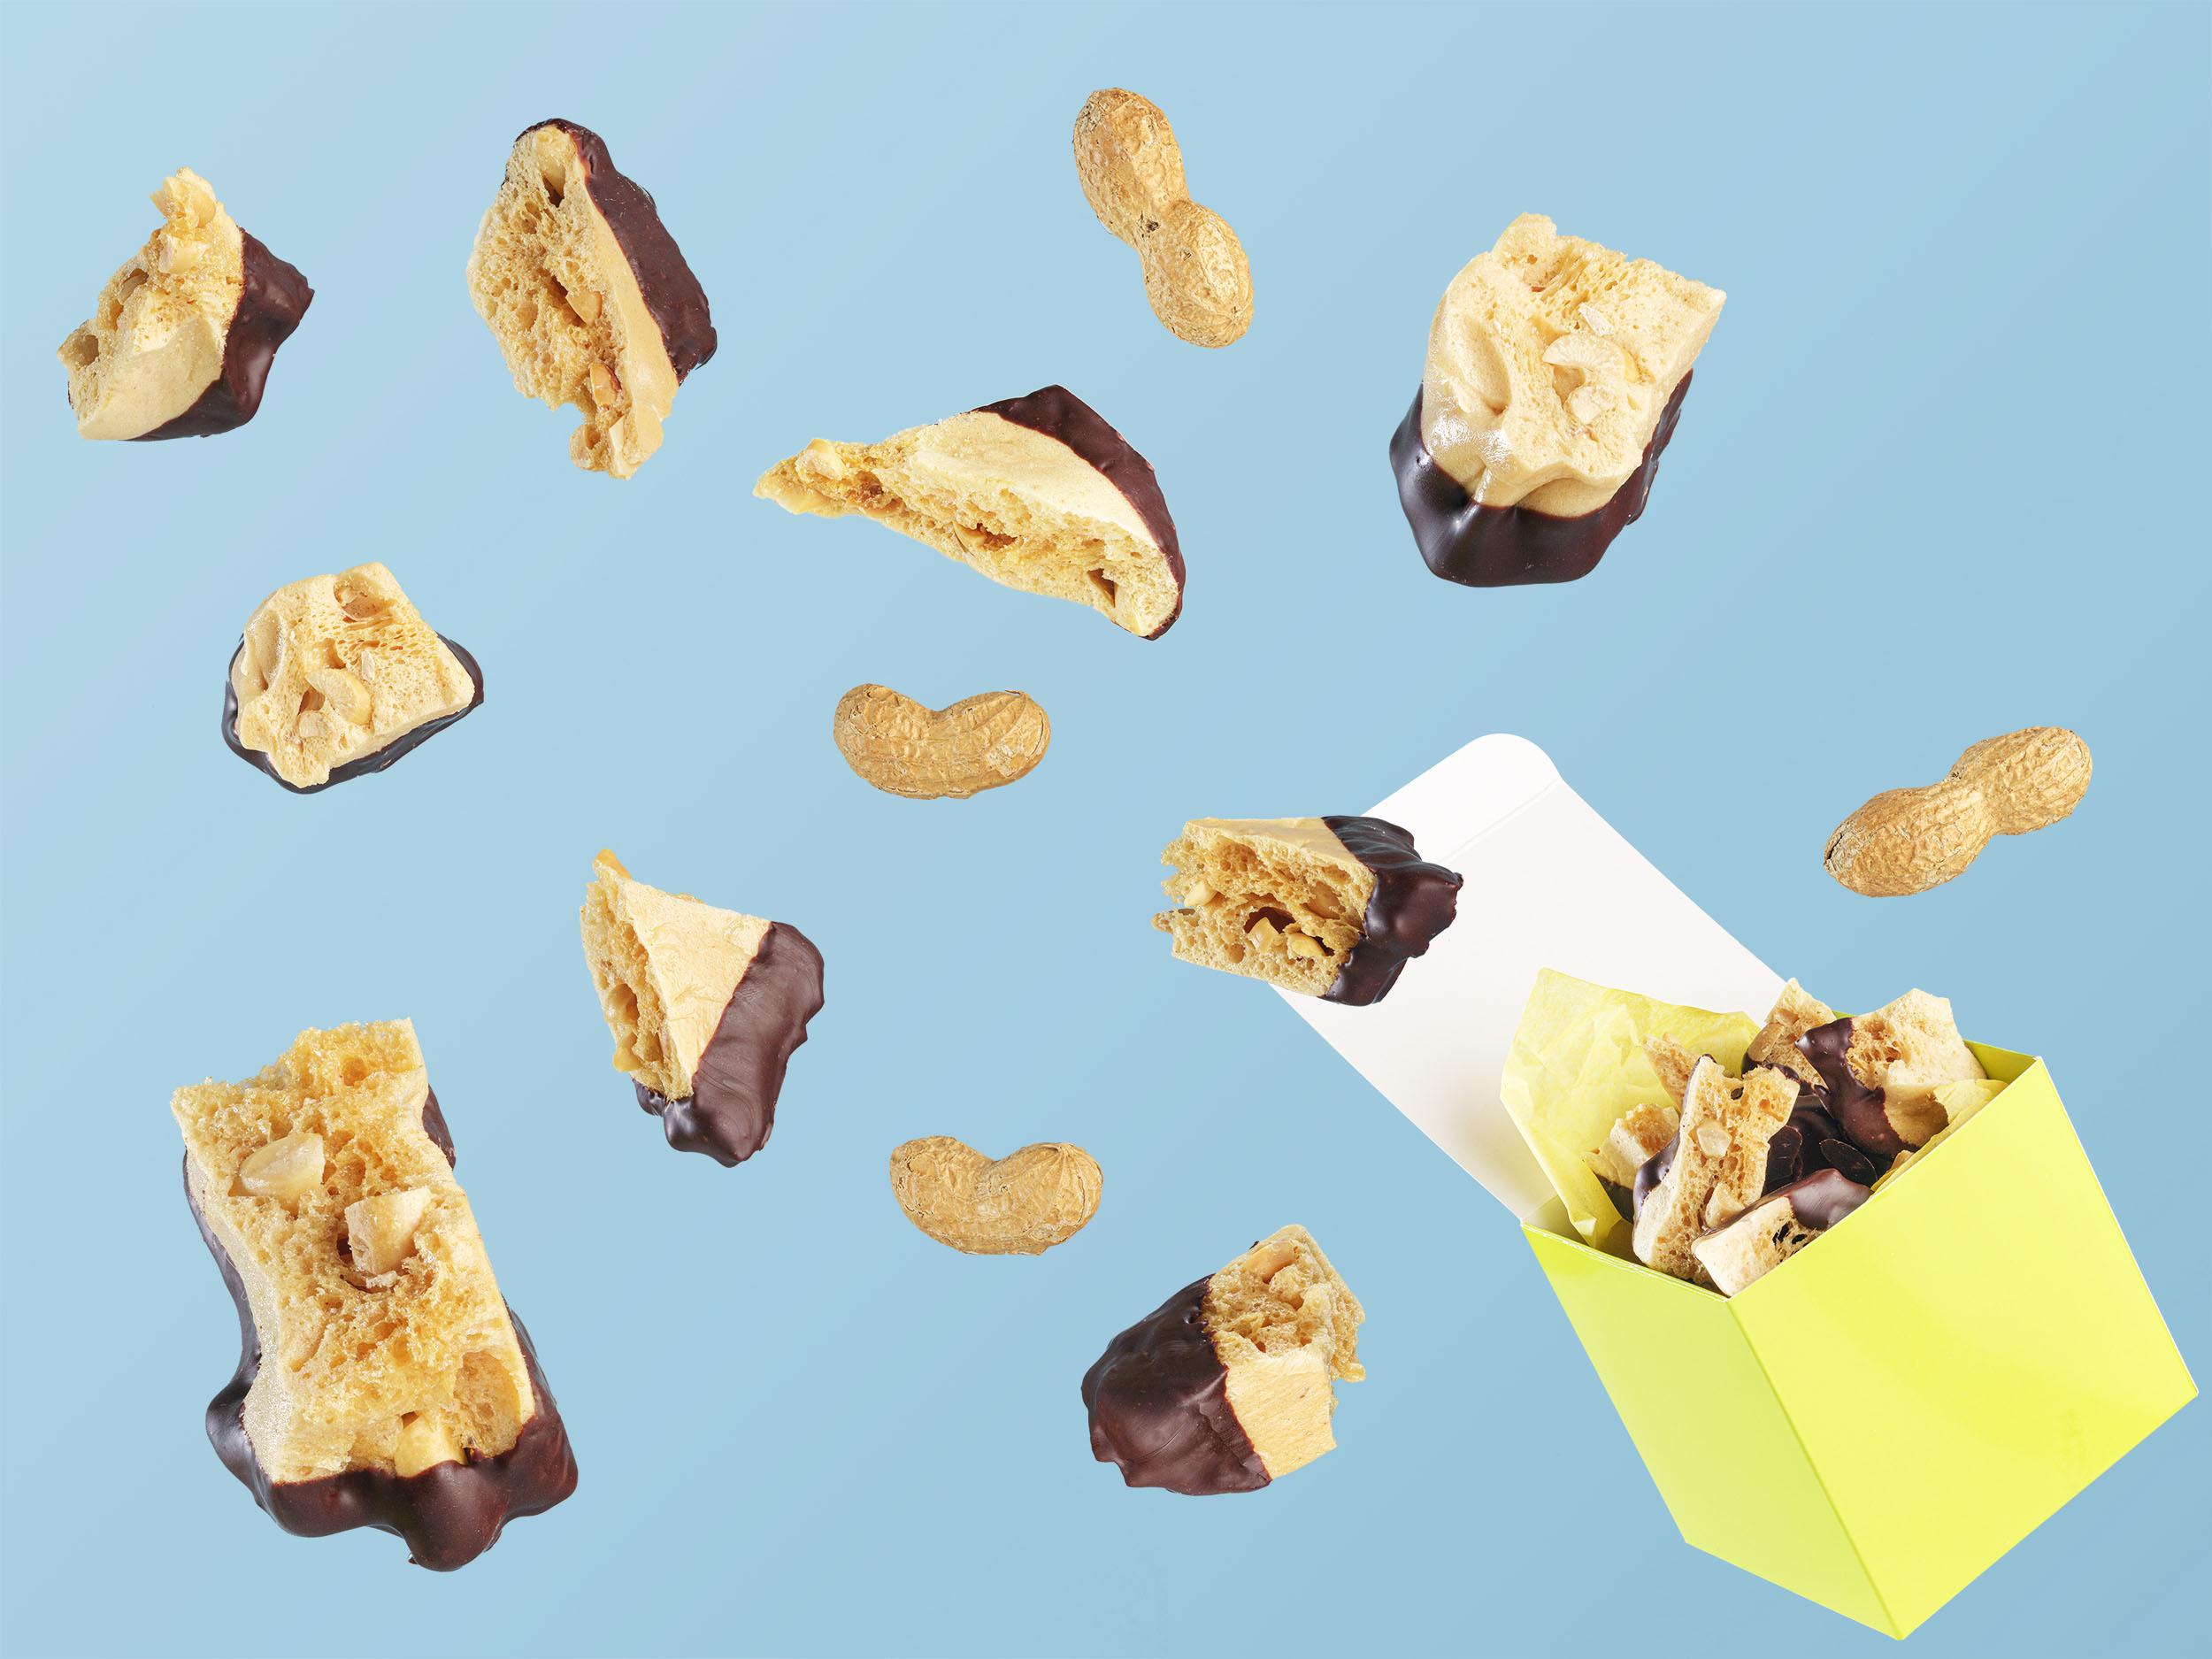
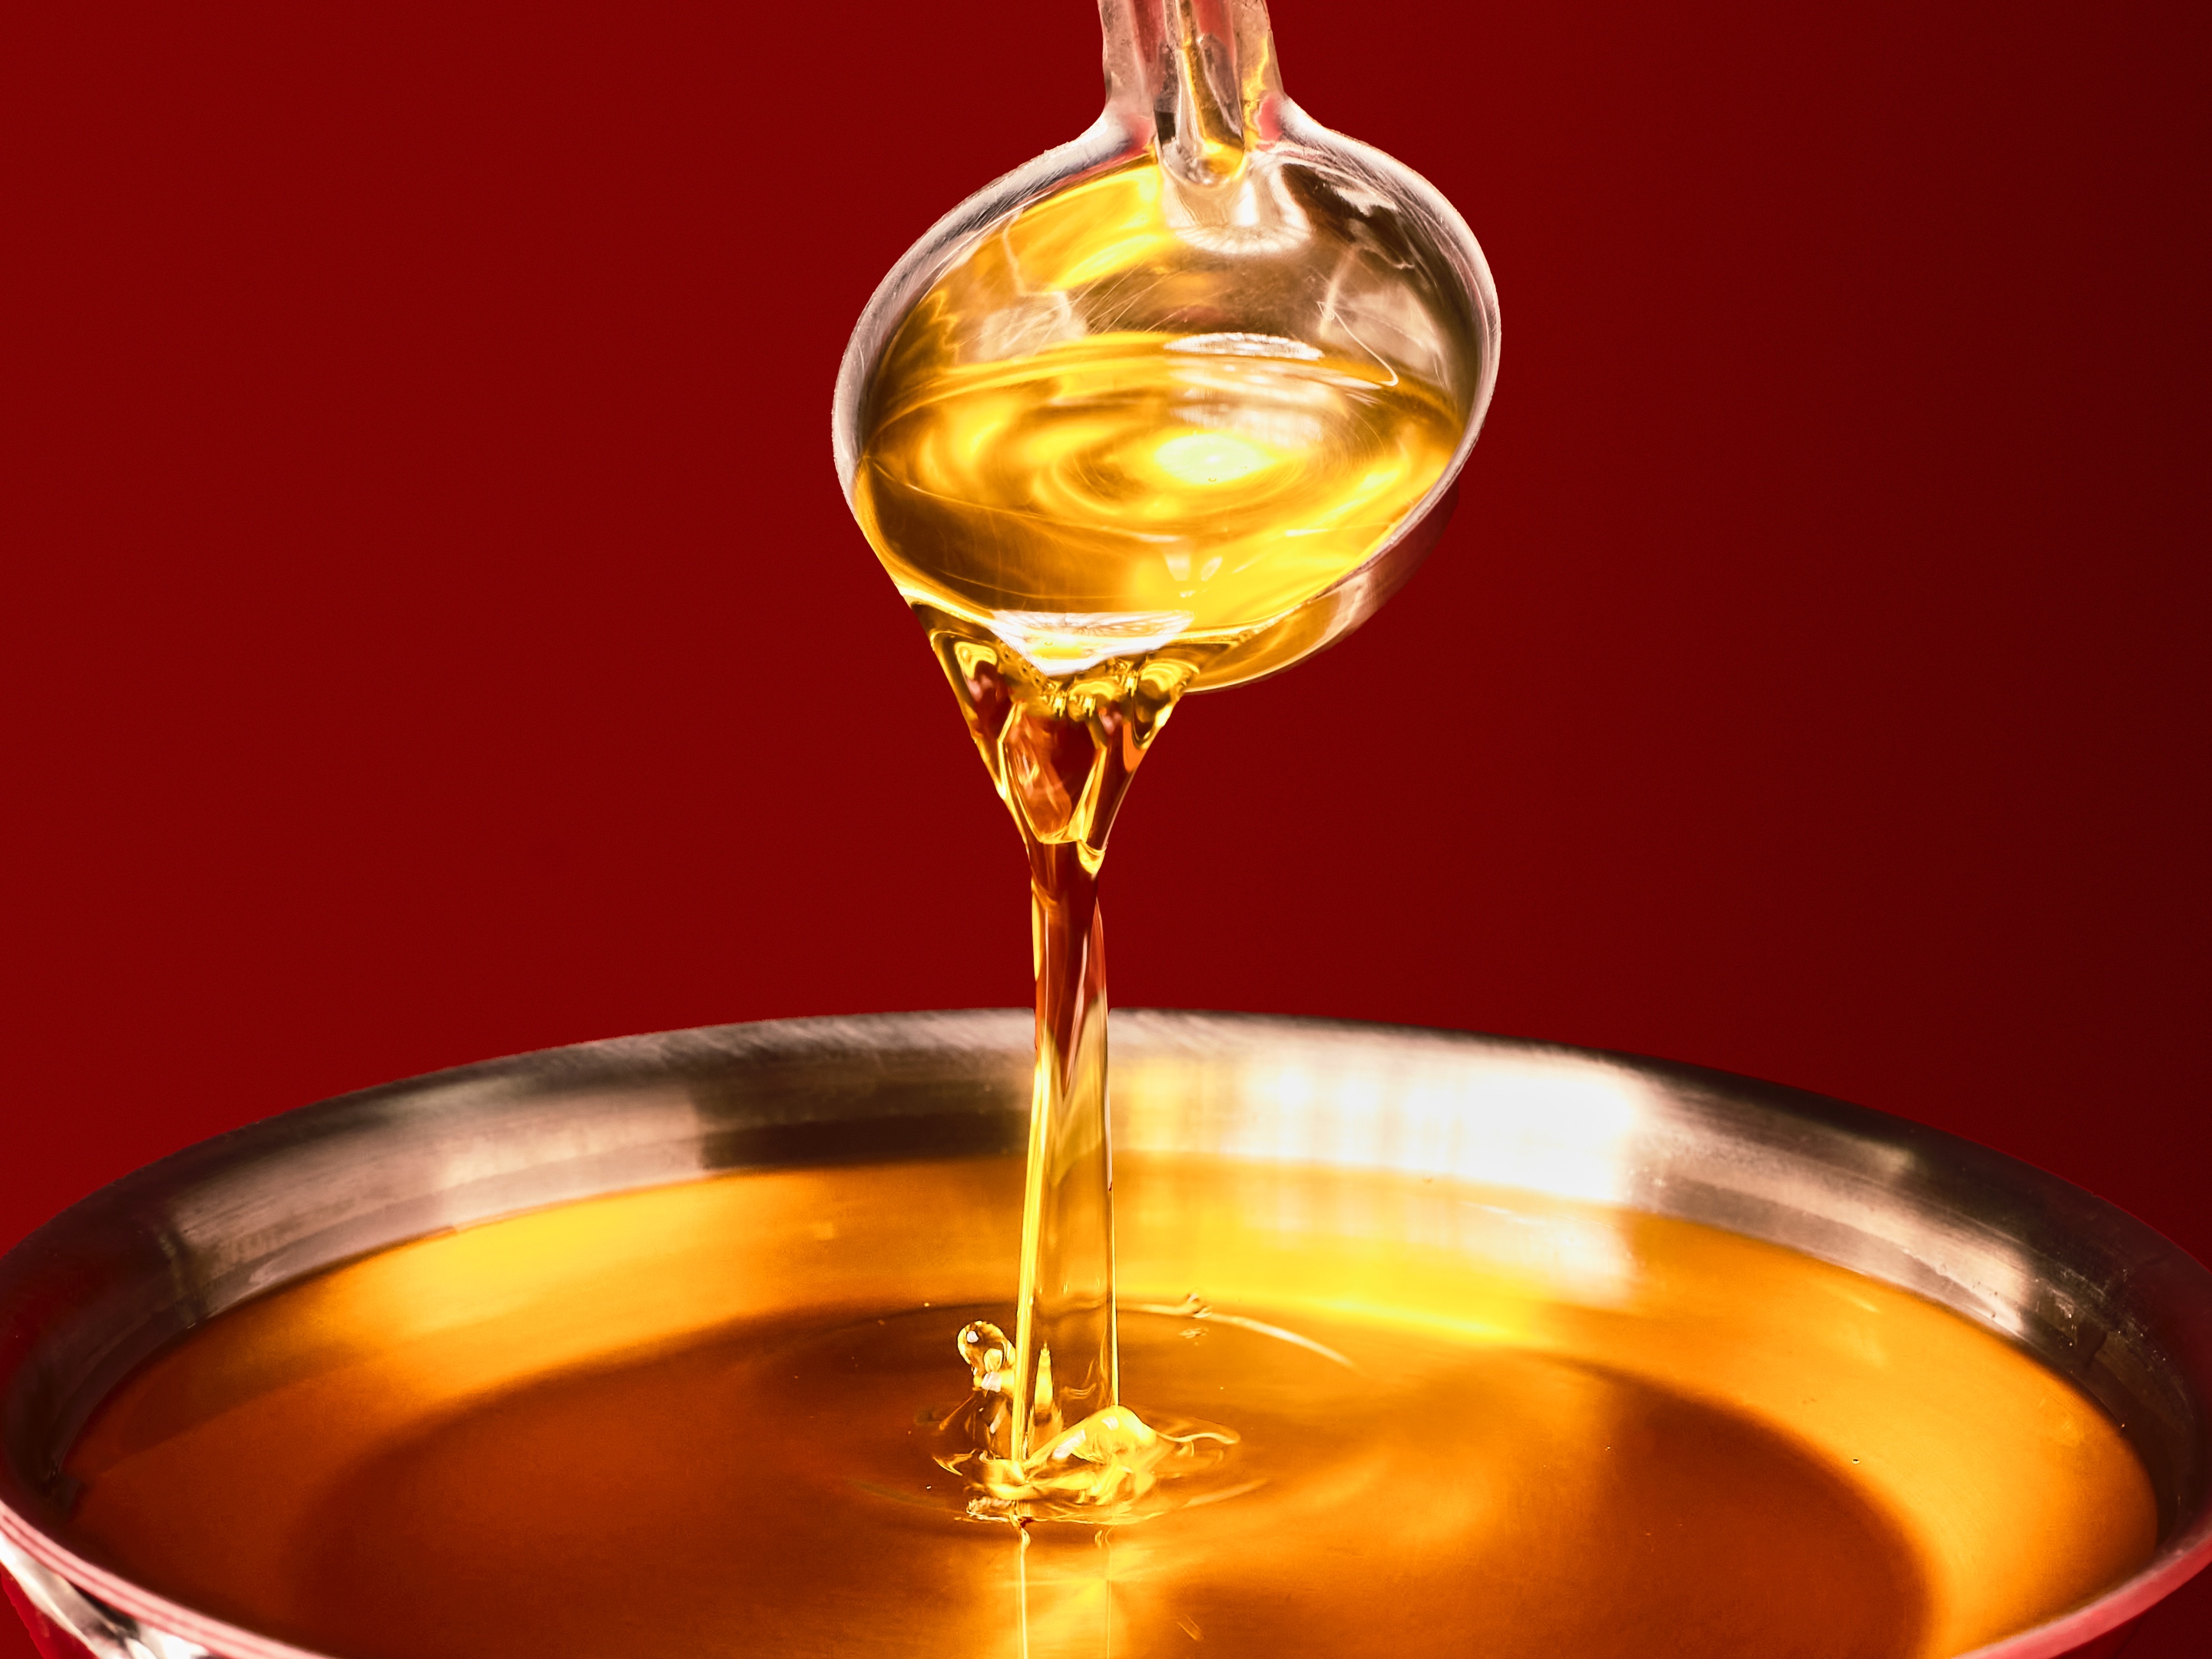
What’s better than peanut brittle? The ultimate peanut brittle made with peanut butter and pumped full of air. It’s extra peanut-y with a crisp crunch that won’t crack your teeth. We put the ChefSteps spin on this hard sugar candy, using several of our favorite secret weapons to take this confection to new heights. Baking soda enhances the Maillard reaction for a caramel-y color and flavor, and its chemical reaction lifts and enhances the texture. Using peanut butter instead of regular butter amps up that peanut-y flavor. And, for the pièce de résistance, we use a chamber vacuum sealer to introduce air into the brittle, yielding big air bubbles and a light, crisp texture that won’t cause an emergency trip to the dentist. If you don’t have a chamber vacuum sealer, have no fear. We’ve included a few different methods below to help you get the most out of your peanut brittle, plus some pro tips for making a delicious Nutella version.Precision Clarified Butter
by
Timing
15 min total; 2 min active
Yield
400 g; about 1 pint
Clarified butter is a staple of kitchens all over the world, prized for its rich flavor and relatively high smoke point. Unlike whole butter, clarified butter is cooked until the fat, milk solids, and water separate and the water is boiled away, leaving you with milk solids and fat. Once strained of milk solids, clarified butter can be heated to much higher temperatures than whole butter can: The water content in whole butter puts an upper limit on the temperature it can achieve ([f 212]) until it’s cooked off, and raising the temperature beyond that point can make the milk solids burn and turn bitter. While making clarified butter is as simple as heating butter until its water evaporates, using precision temperature control makes the process consistent and entirely hands off. It also allows you to control the degree to which the milk solids brown. Increase the cook temperature on clarified butter for a few minutes, and the milk solids will become lightly browned, lending the liquid fat toasty notes—this is, essentially, ghee, the clarified butter commonly used in cooking in the Indian Subcontinent. Increase the temperature a bit more for a few minutes, and you’ll have darkly browned butter, which is darker in color and has an even more pronounced toasty flavor and aroma.

Baked Goodies

Grant Crilly
Nicholas Gavin
Kyl Haselbauer
Matthew Woolen
John Carruthers
Andrew Janjigian
Tim Chin
Leah Cohen
Jonathan Zaragoza
Meet our chefs
Grant Crilly
Grant Crilly is the Executive Director and cofounder of ChefSteps. Grant is a classically trained chef and, prior to ChefSteps, he worked on the award-winning cookbook series Modernist Cuisine and cooked at various restaurants, including L’Astrance in Paris, Busaba in Mumbai, and Mistral Kitchen in Seattle.